Finding the right commercial property can be easy
Getting the right property is a matter of matching a customer’s needs with our property inventory whilst providing them with the best possible service. It’s still a industry that’s built on relationships, but that doesn’t mean we can streamline and automate a lot of the mundane to help them serve more customers.
The Challenge
The Commercial property sector is extremely fast moving, the stock changes often and leads are lost within an hour to a competitor if they’re not serviced. The main objective from a design perspective is to see how we could keep someone engaged in the searching process and generate a lead for business as fast as possible to show interest and have a professional consultant help guide you through the process.
The Opportunity
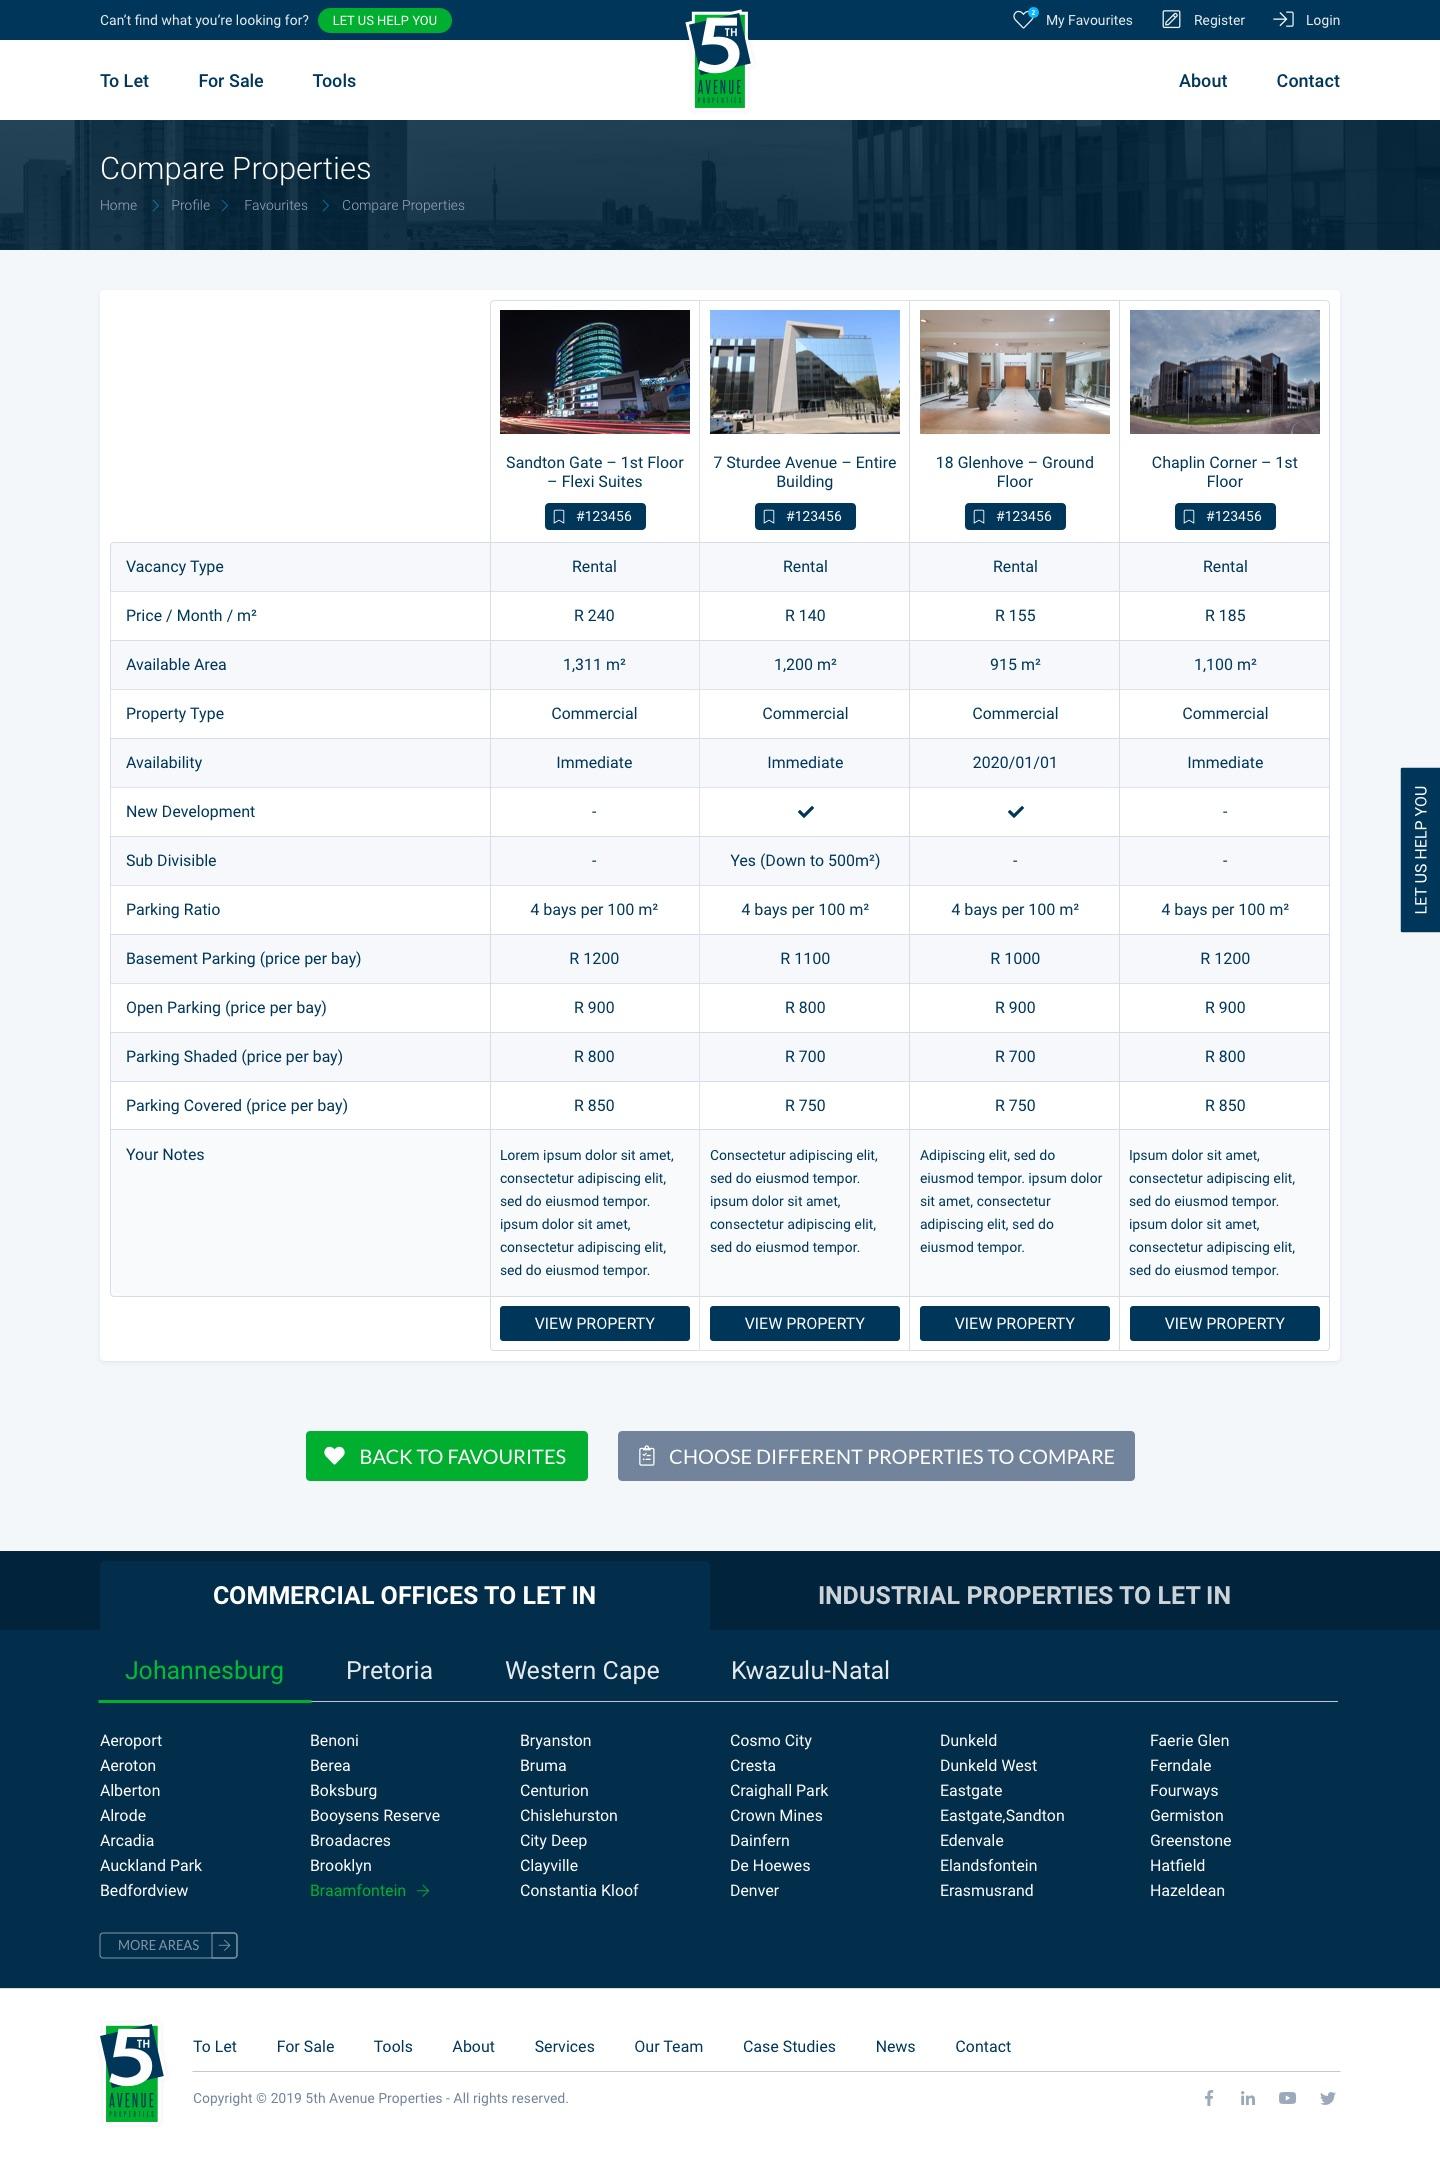
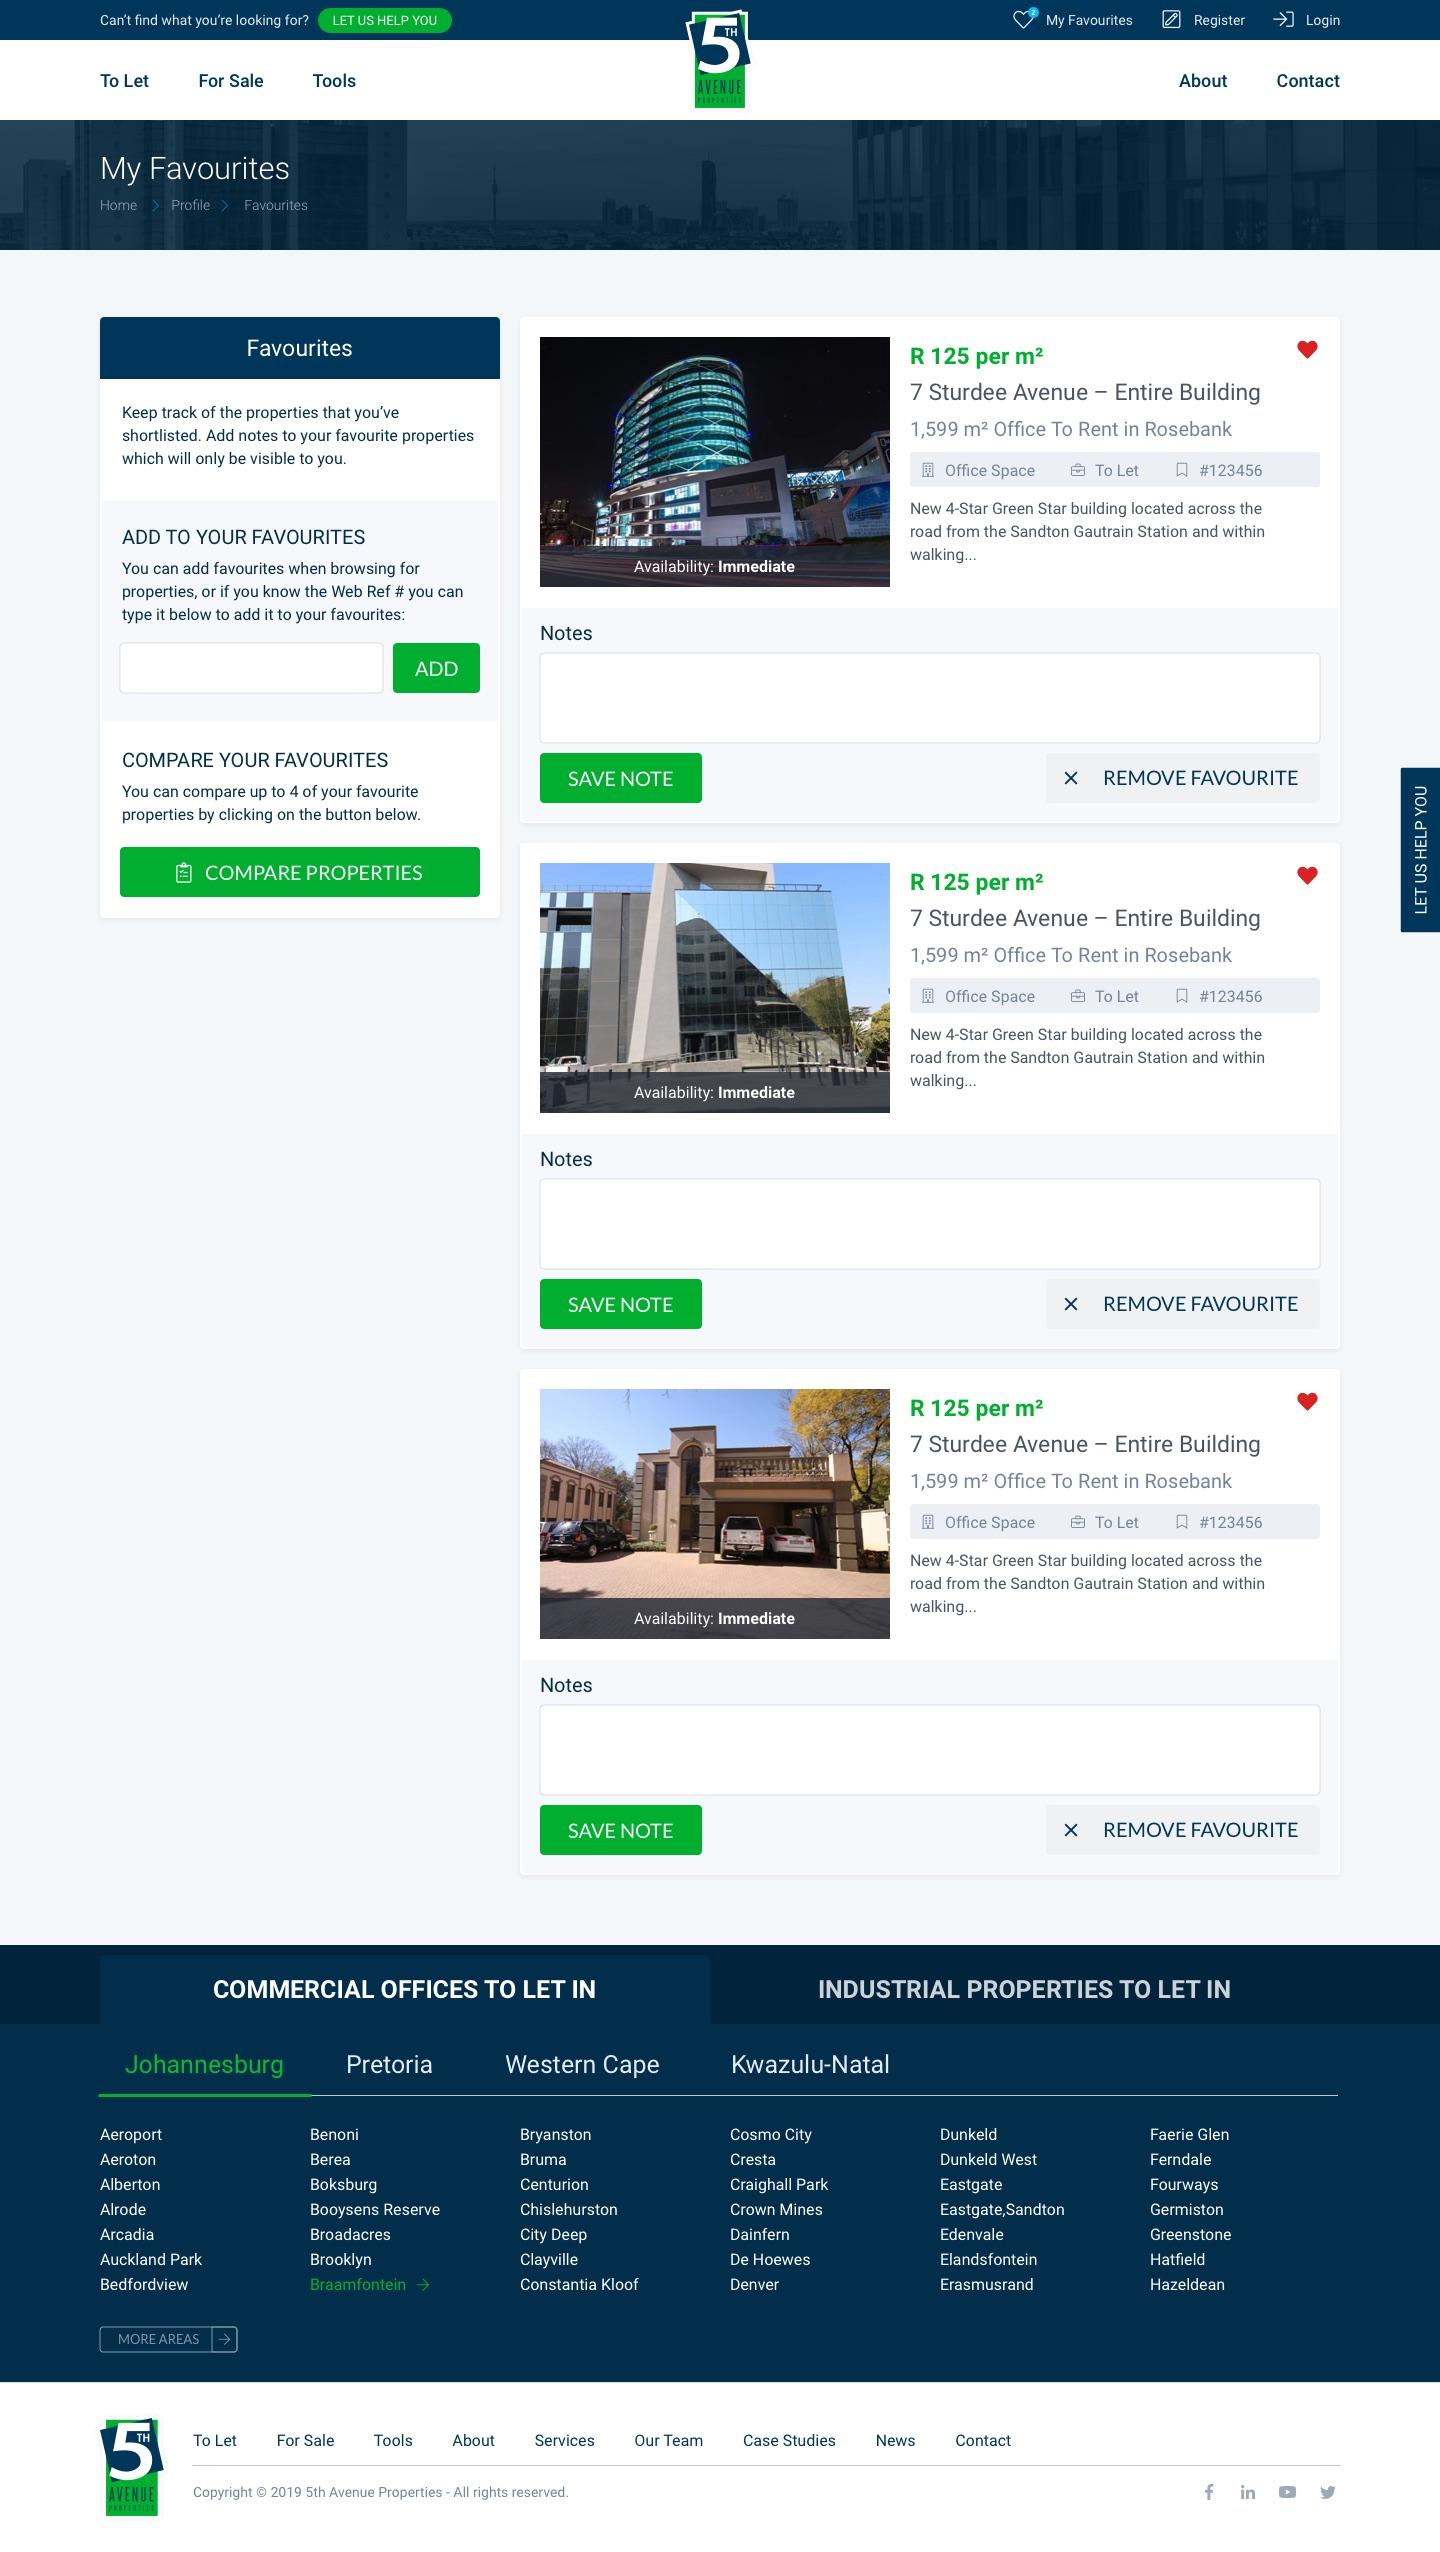
When looking for properties there are a lot of mental models we could lean on, build a list of favourites, do a feature-by-features comparison on price and properties to see which one matches your needs best. Part of the stakeholders were an SEO agency that helped guide certain criteria to ensure we reach the target rankings and have the right amount of traffic on the site, then it was up to us to ensure we captivate the audience to drive leads.
Technical Considerations
From a technical standpoint there we’re a lot of considerations, a different system I was part of building for 5th Avenue, is what we call “Rainmaker”. Rainmaker is their property database and custom CRM system to manage all the internals of what is available to how they engage with clients. We had to ensure we could integrate with Rainmaker so that when property information is updated, it would automatically reflect on the website, saving them 100’s of hours a month by not doing this manually.
From a website design consideration it was really important for me to get the fastest possible page load times to ensure we keep someone engaged throughout the searching process. With that I leaned heavily on a headless “static” site infrastructure to ensure we could set out to achieve our goal of keeping someone engaged in the search process and not make them wait too long.
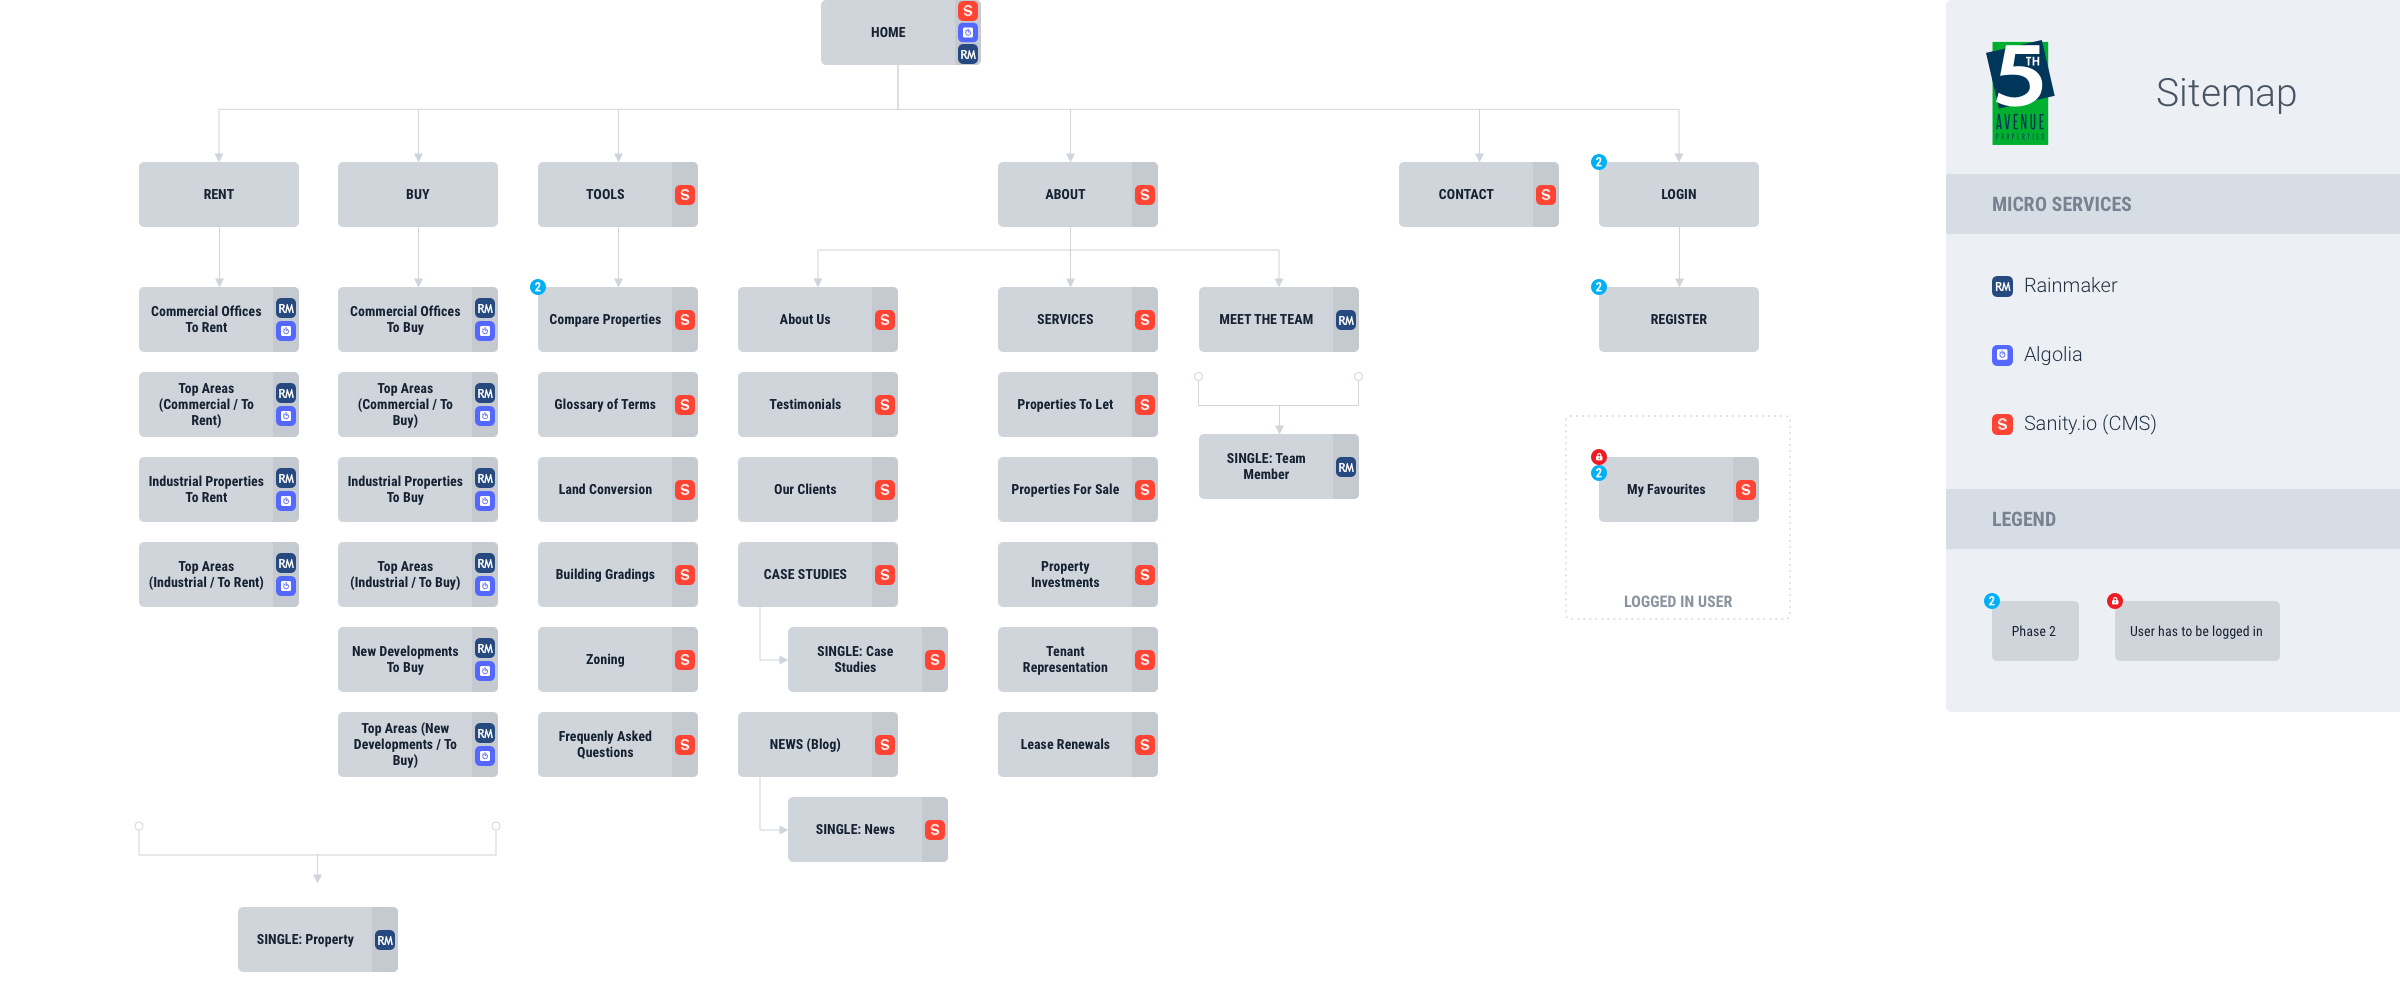
The sitemap I created for this website shows the headless approach as well as where we’ll be storing or acquiring various pieces of content.
Wireframe Explorations
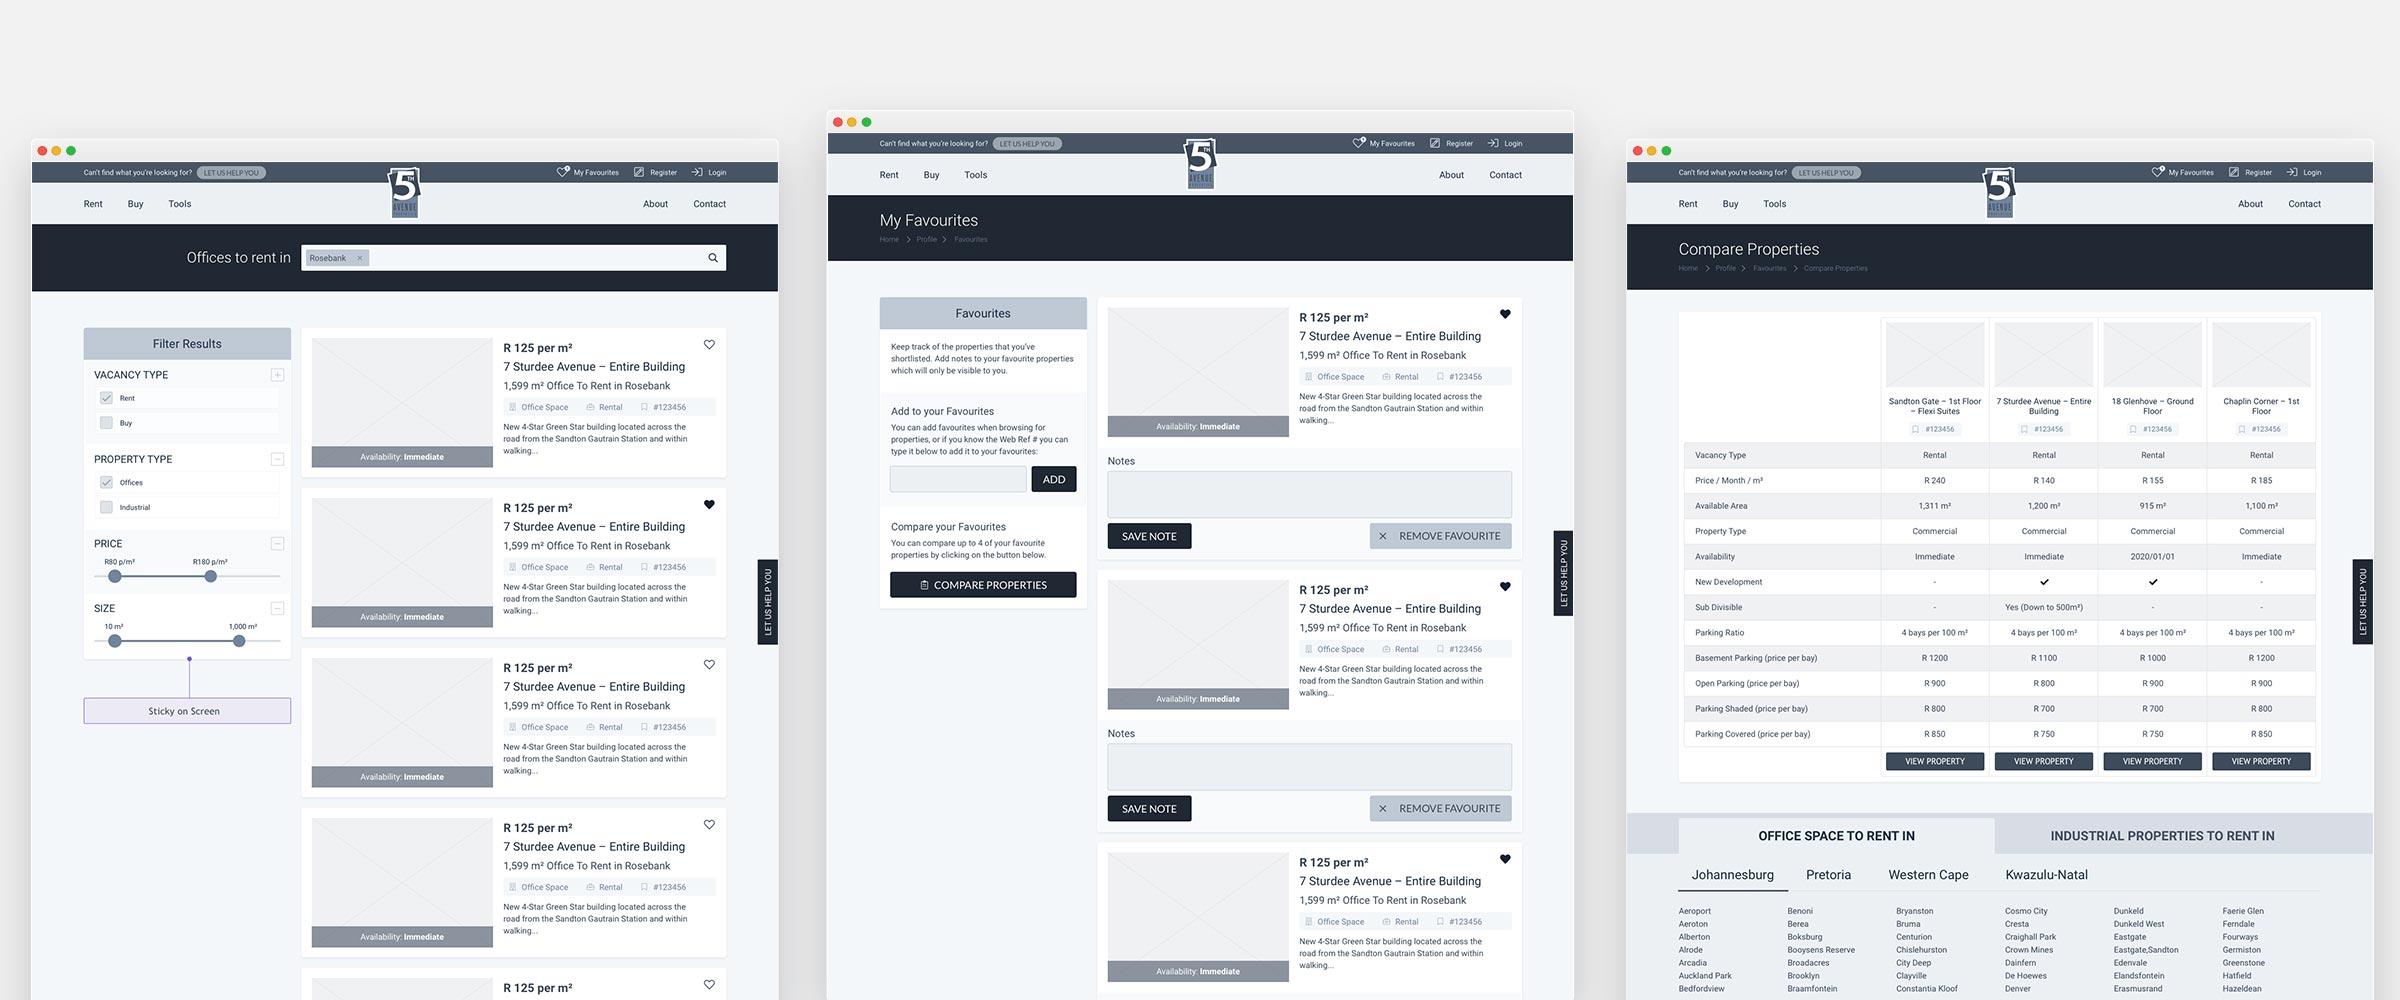
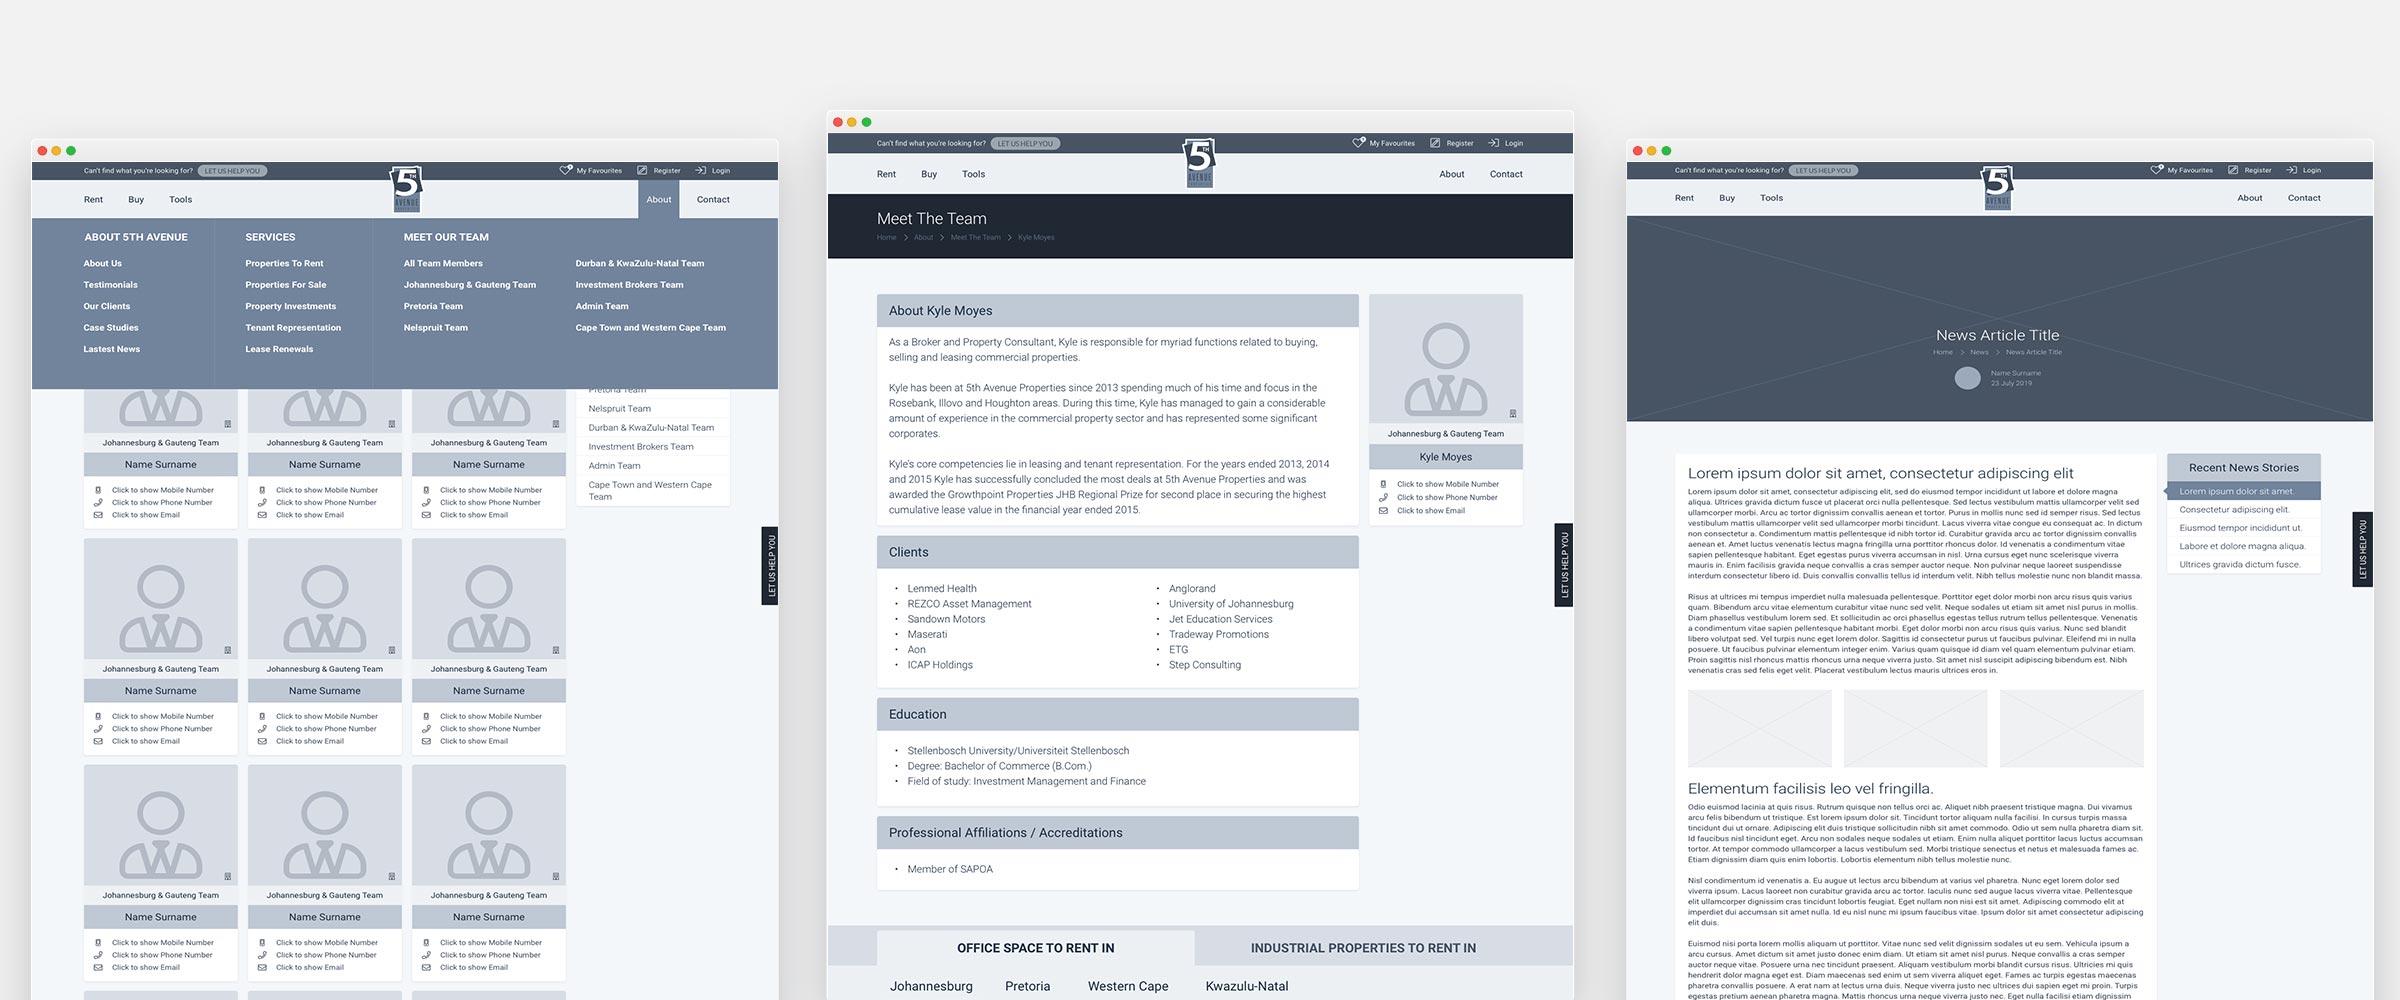
The process I like to follow on a site like this, is to plan out key pages by doing a very quick low-fidelity wireframe and explore options for those key pages. As part of the process I also do a competitor analysis to benchmark what the industry is doing, to evaluate that I did not forget or miss something. From there I did a medium-fidelity wireframe which I then “stitch together” as an interactive prototype to start getting a feel for how the site will function and behave. The plan with this is to use it as a tool to take the client through the new process in a complete greyscale experience that might still change completely, I find by telling clients that, they don’t comment on colours, fonts or spacing (Essentially final design elements) and we can focus just on the content and technical side of the designs, before moving on to the final design elements.
Wireframe Prototype
To browse through the interactive wireframes, please use the link below. When you click on a screen there will be blue blocks indicating where you could link to next.
Design System
The website and brand is not heavily complicated, but because of the nature of how we design and build it, I found it best to set-up a basic design system to keep everything in check before it could run out of hand.
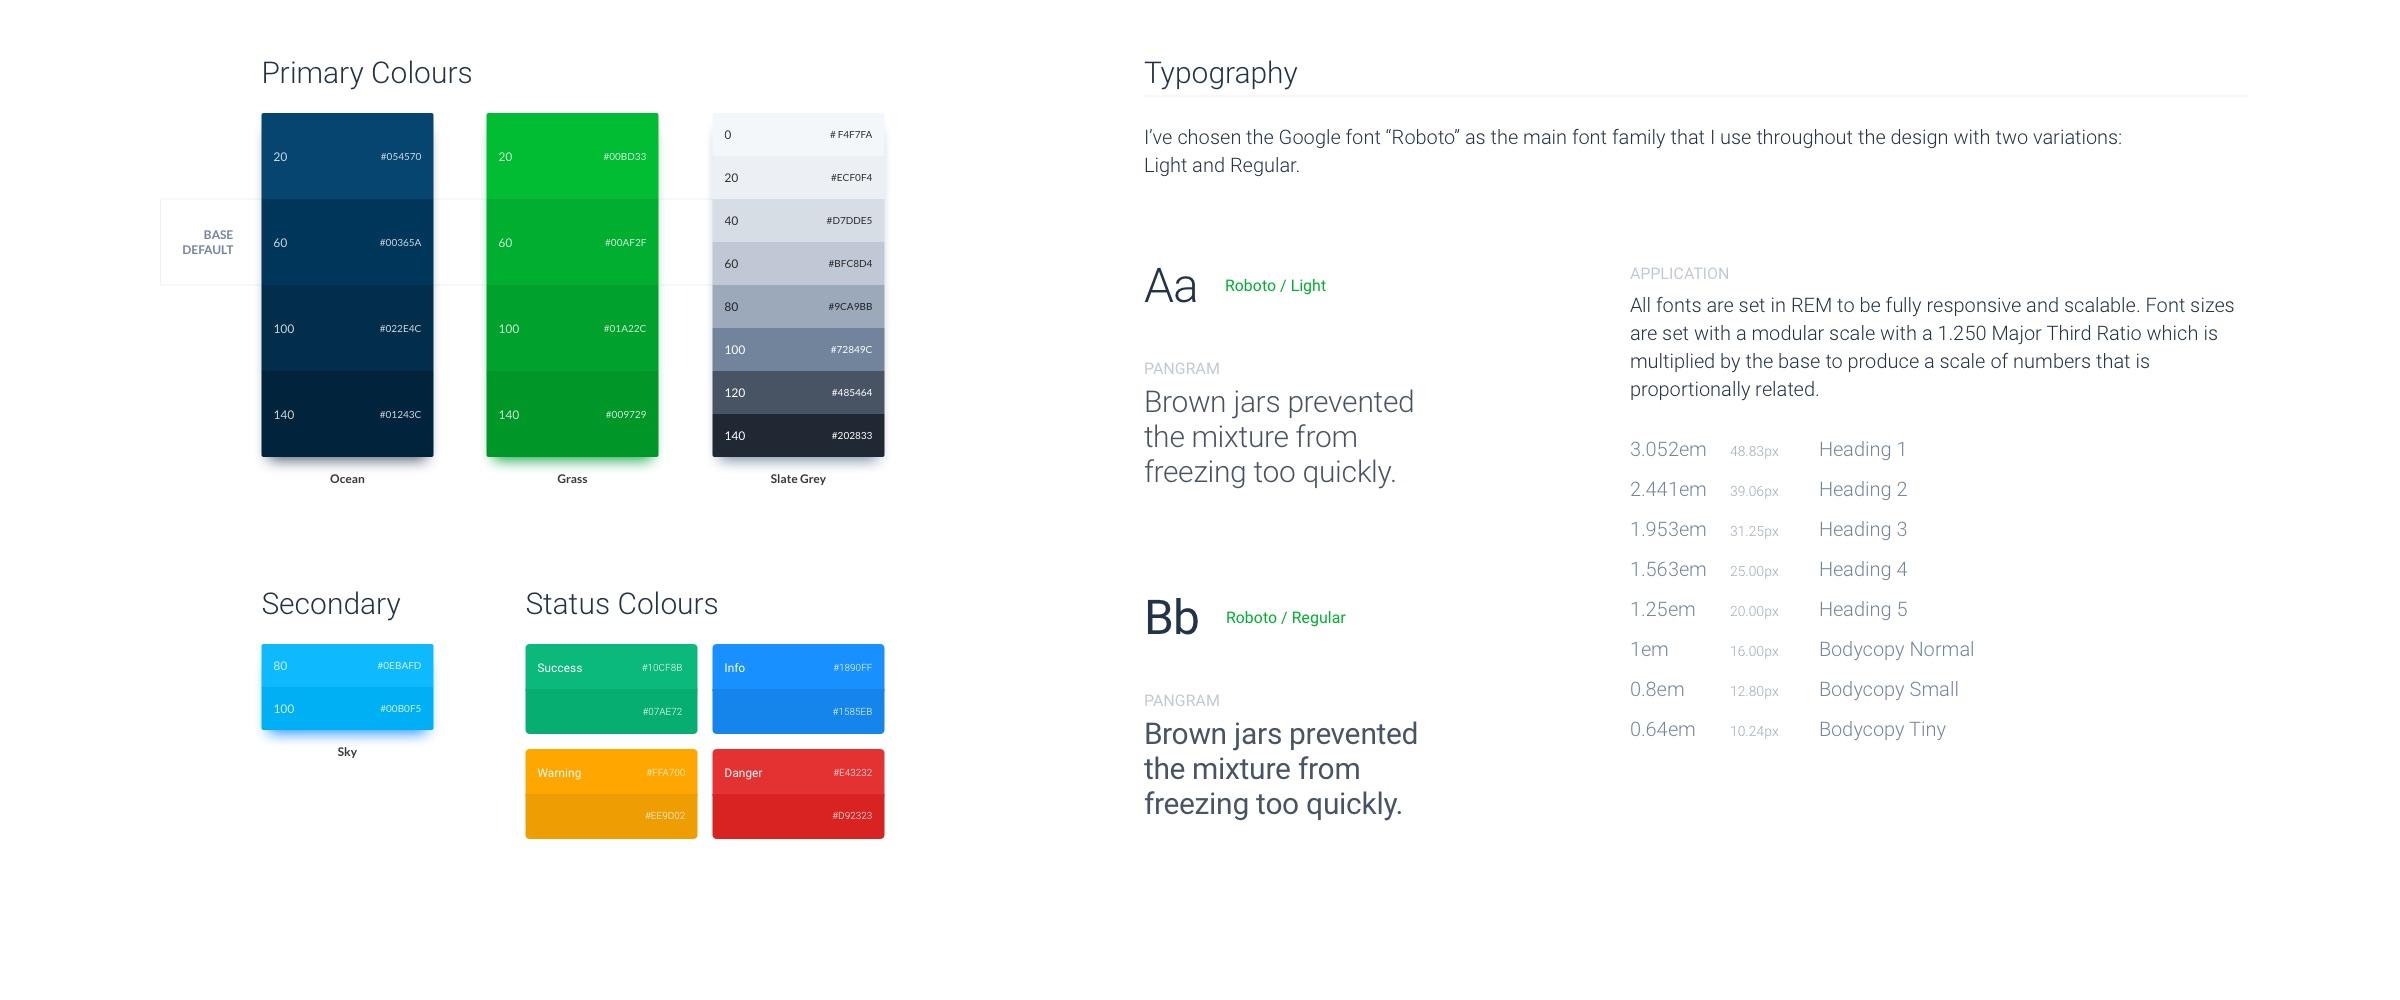
For me the building blocks of a design system are the fonts, colours and spacing used. From there I follow a form of the Atomic Design (by Brad Frost) methodology for building out atoms, molecules and organisms, in order to build out the various layouts and pages that I require, the latter not stored in the design system. I do find that thinking in this way and following such an approach helps a great deal to not repeat yourself and create inconsistencies when trying to do the same thing twice.
I create all the assets in Sketch and then use the InVision DSM (Design System Manager) to store all my Design Token (Platform Agnostic) to incorporate into our React website build process. Meaning that when a change is made in Sketch it would update the token that would have a ripple effect into the website without needing any rebuild or coding from a technical standpoint. Just out of interest sake, I do use the same tokens to control the styling of the Rainmaker platform ensuring it is on brand and a consistent experience. Rolling out changes through the design system becomes really easy to manage all linked assets then.
Once this is set-up, the beauty of this approach is that when we approach the front-end development from a componentized architecture it is rather easy to just look at the existing atoms, molecules and organisms and build those out as components first. From there you have most of the puzzle pieces to start piecing everything together.
Some Design Elements
Product Design
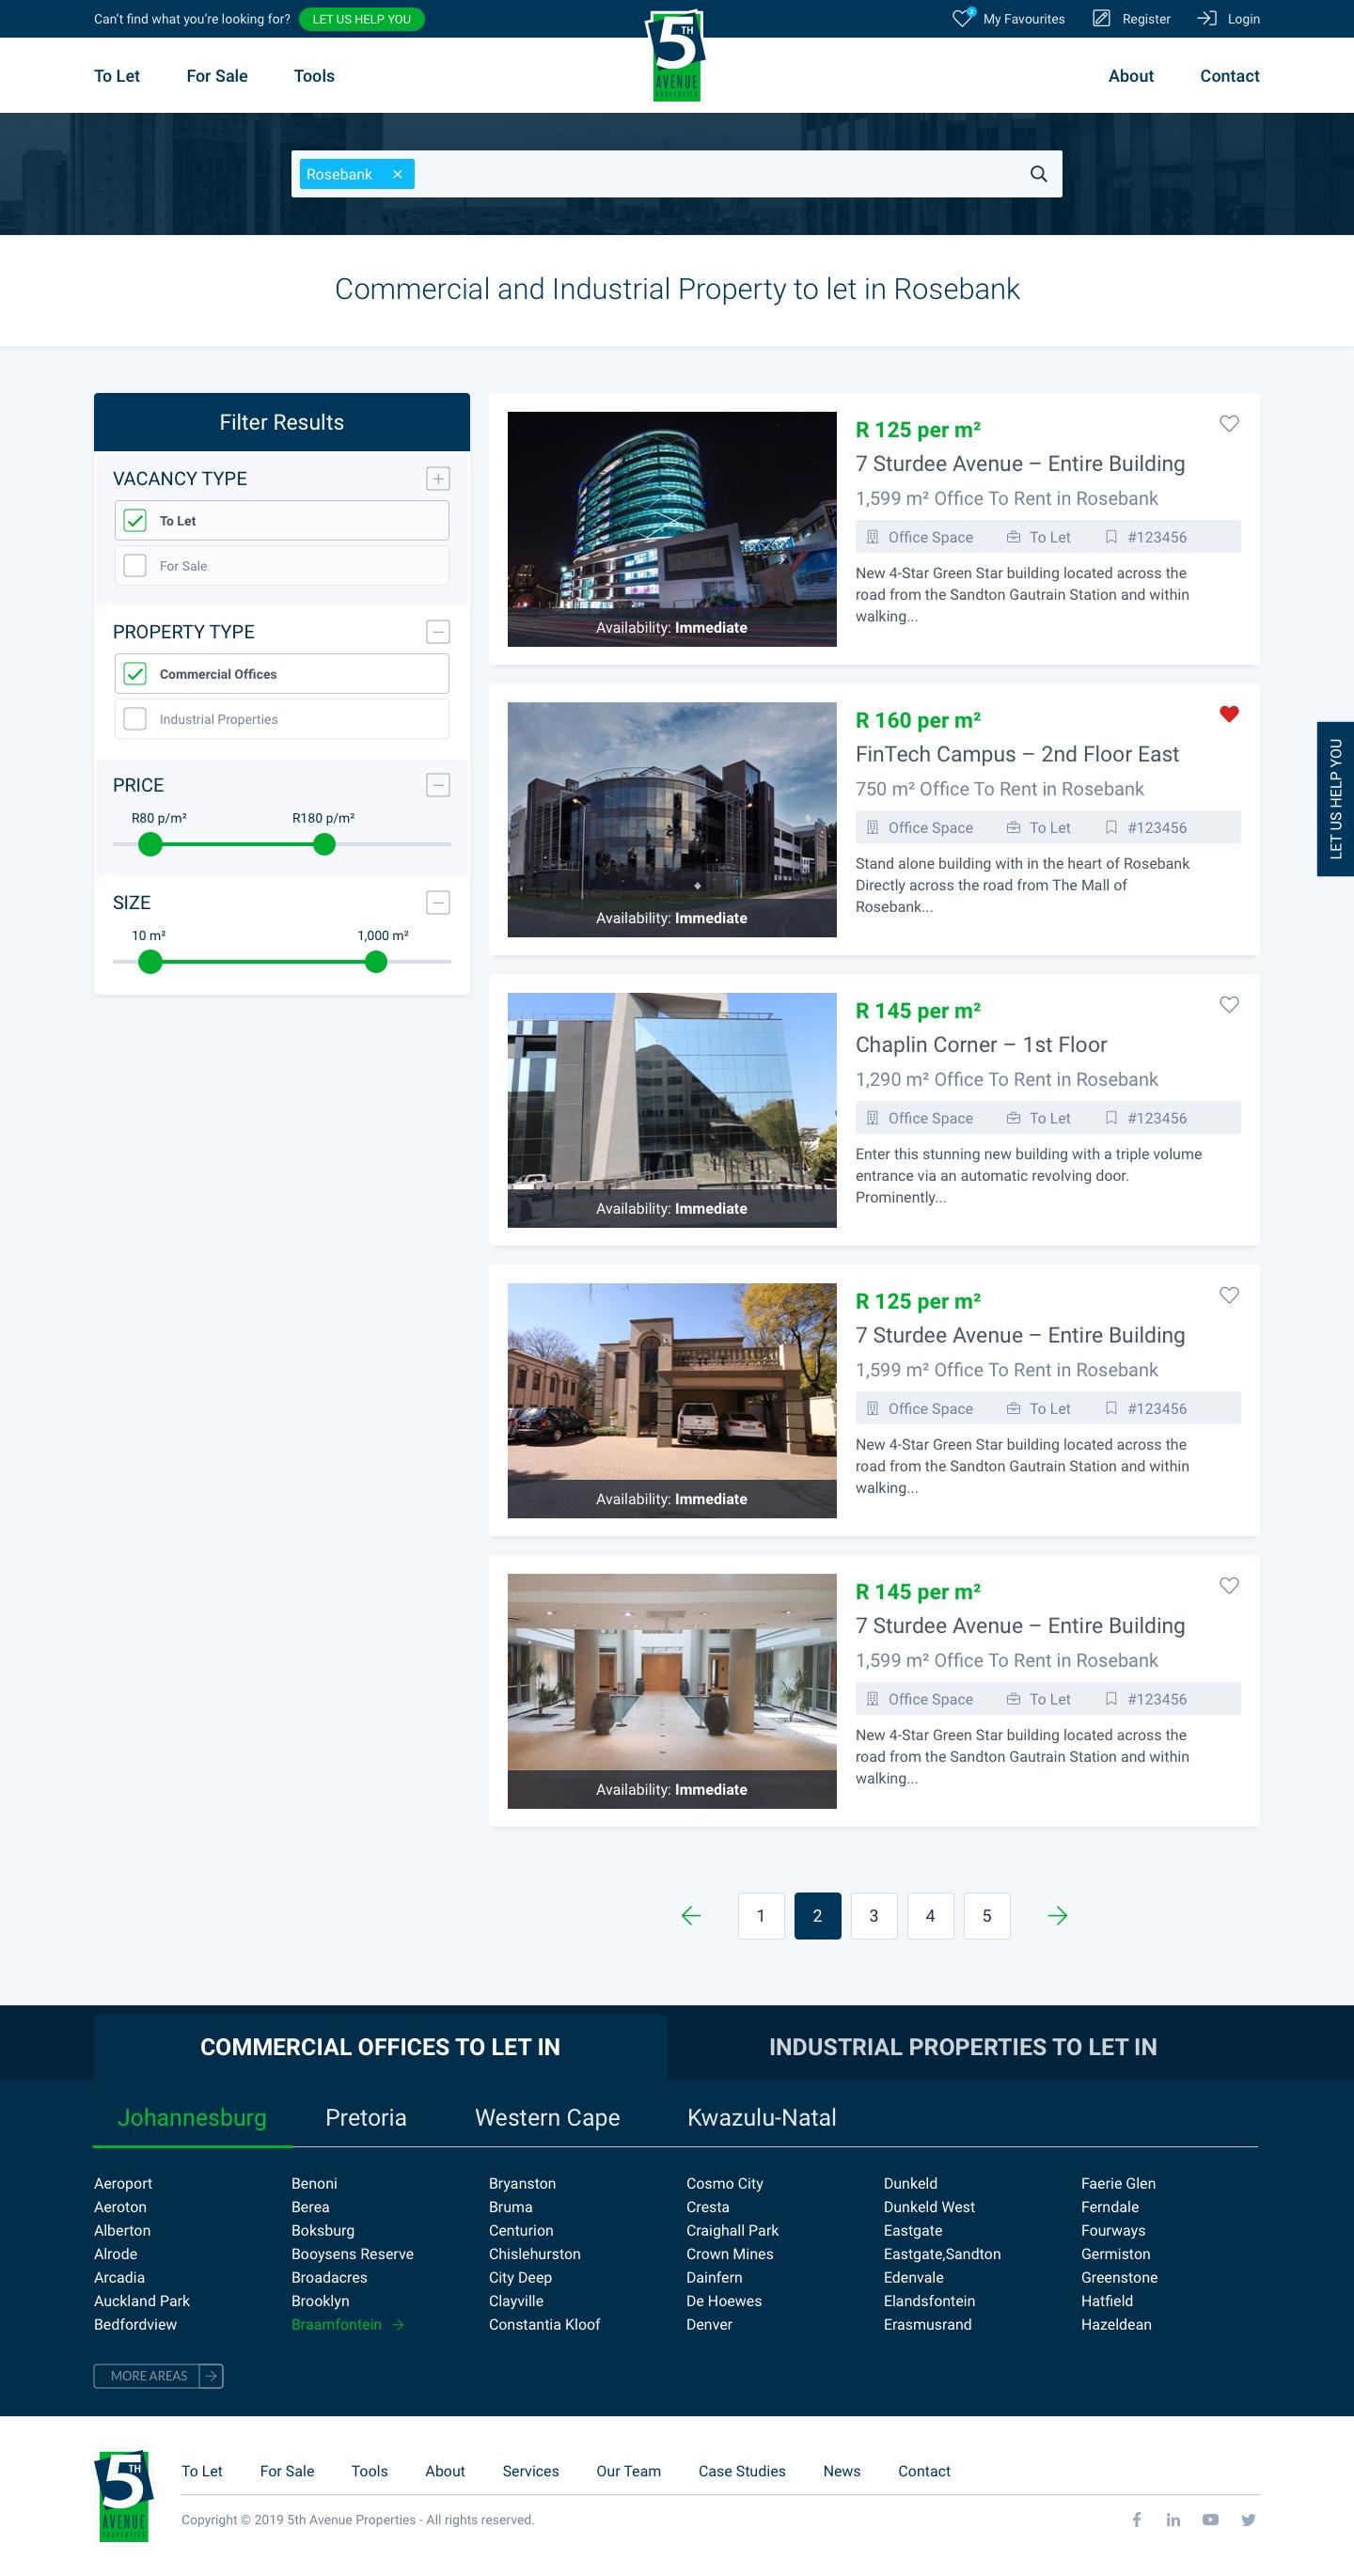
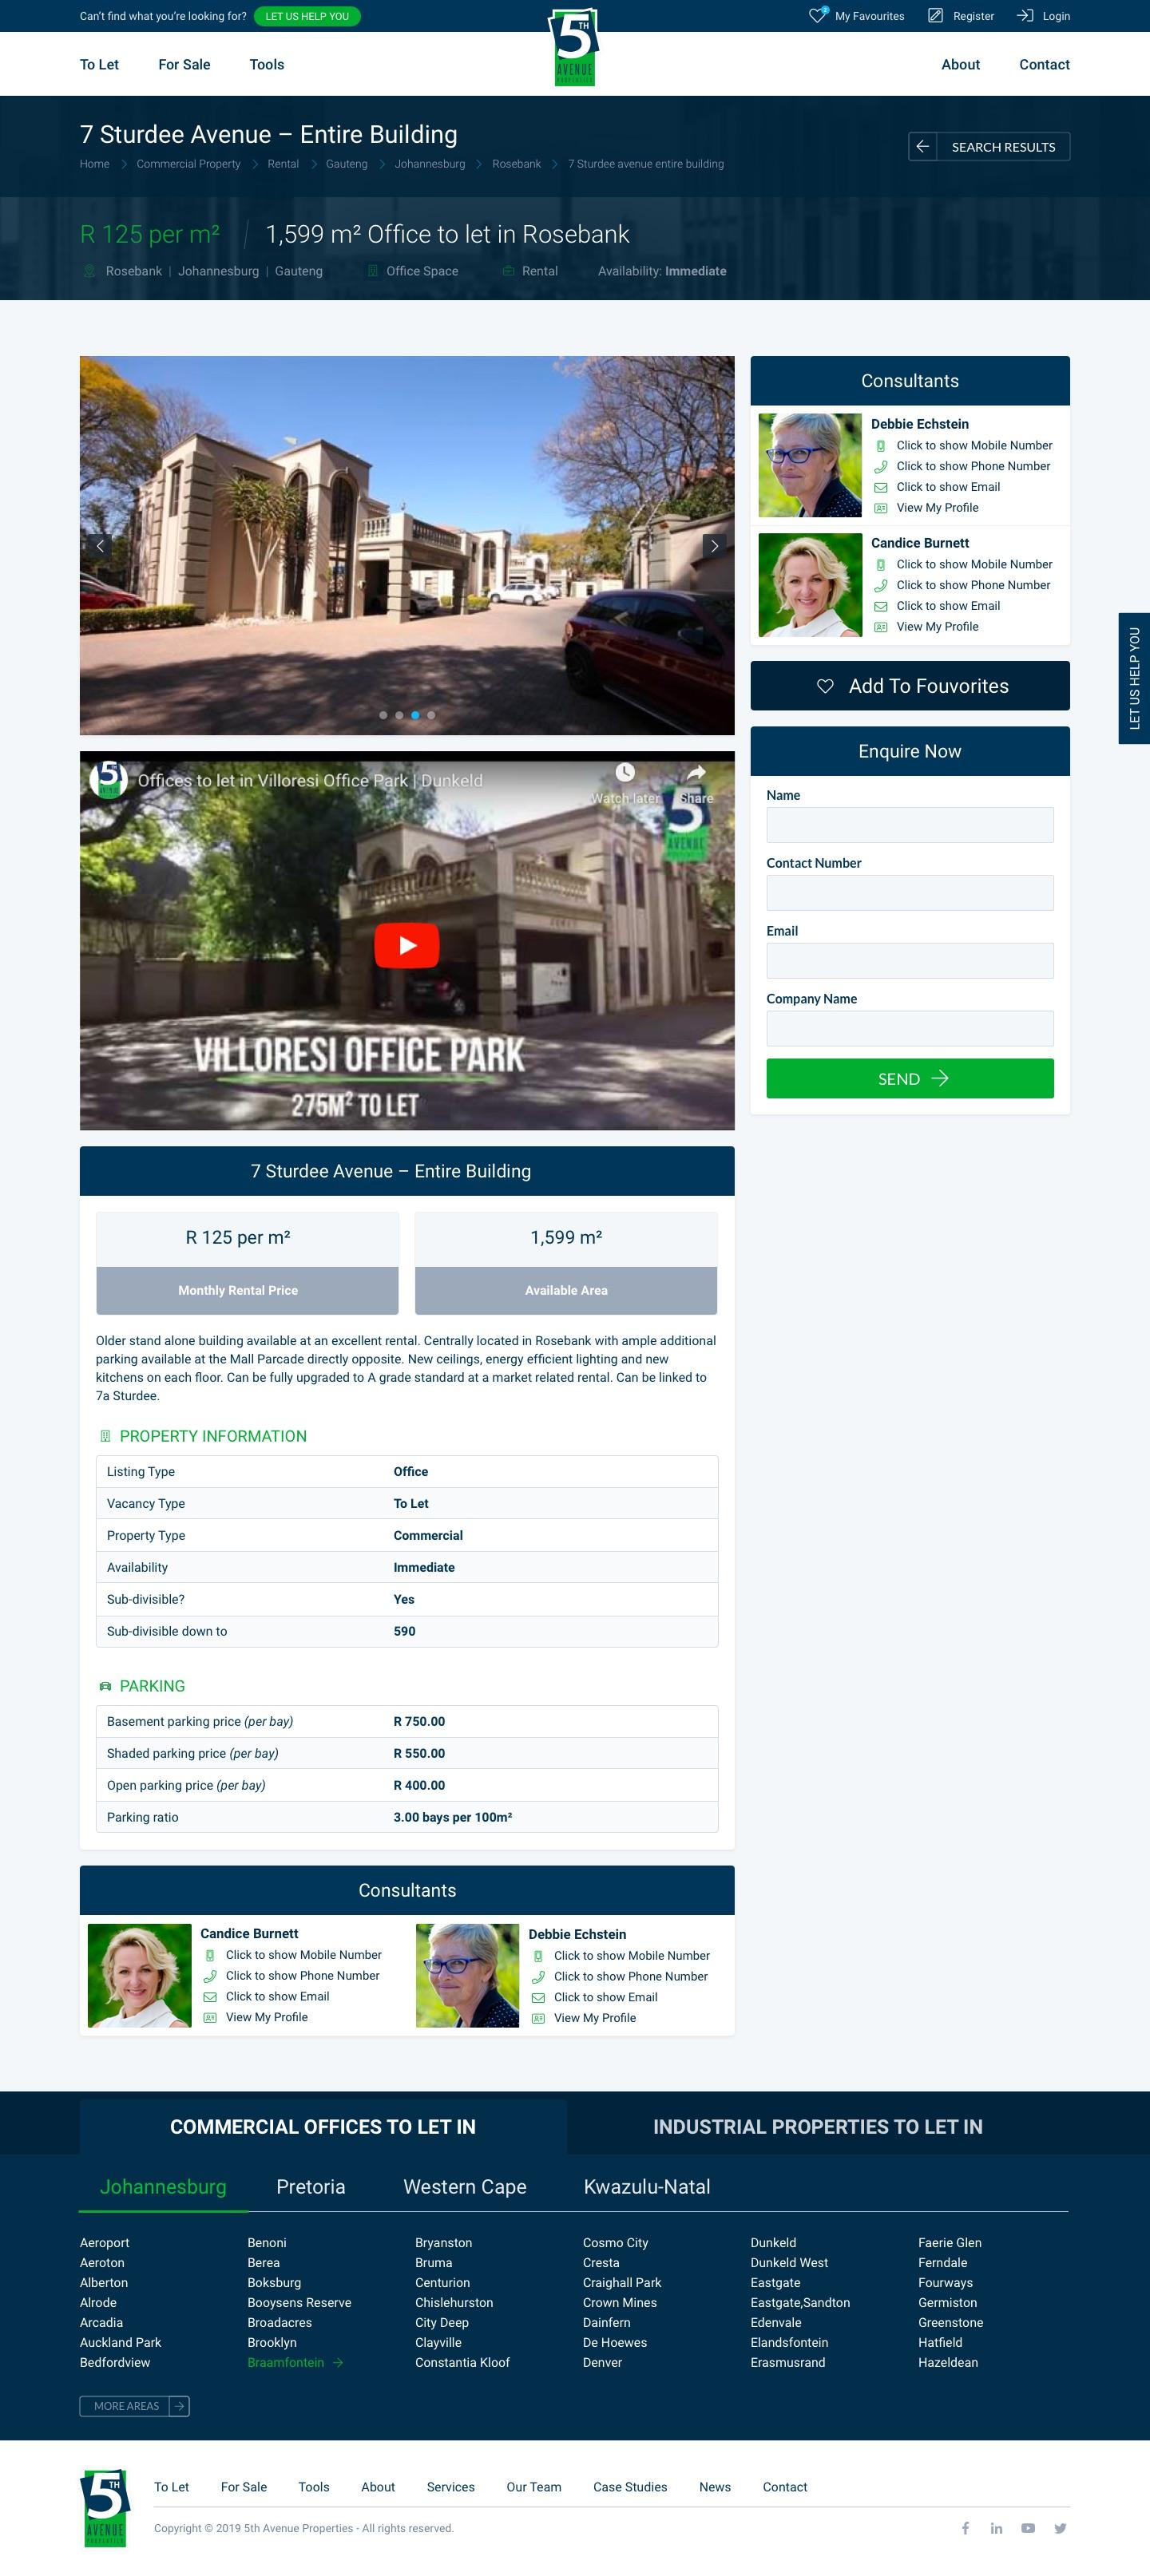
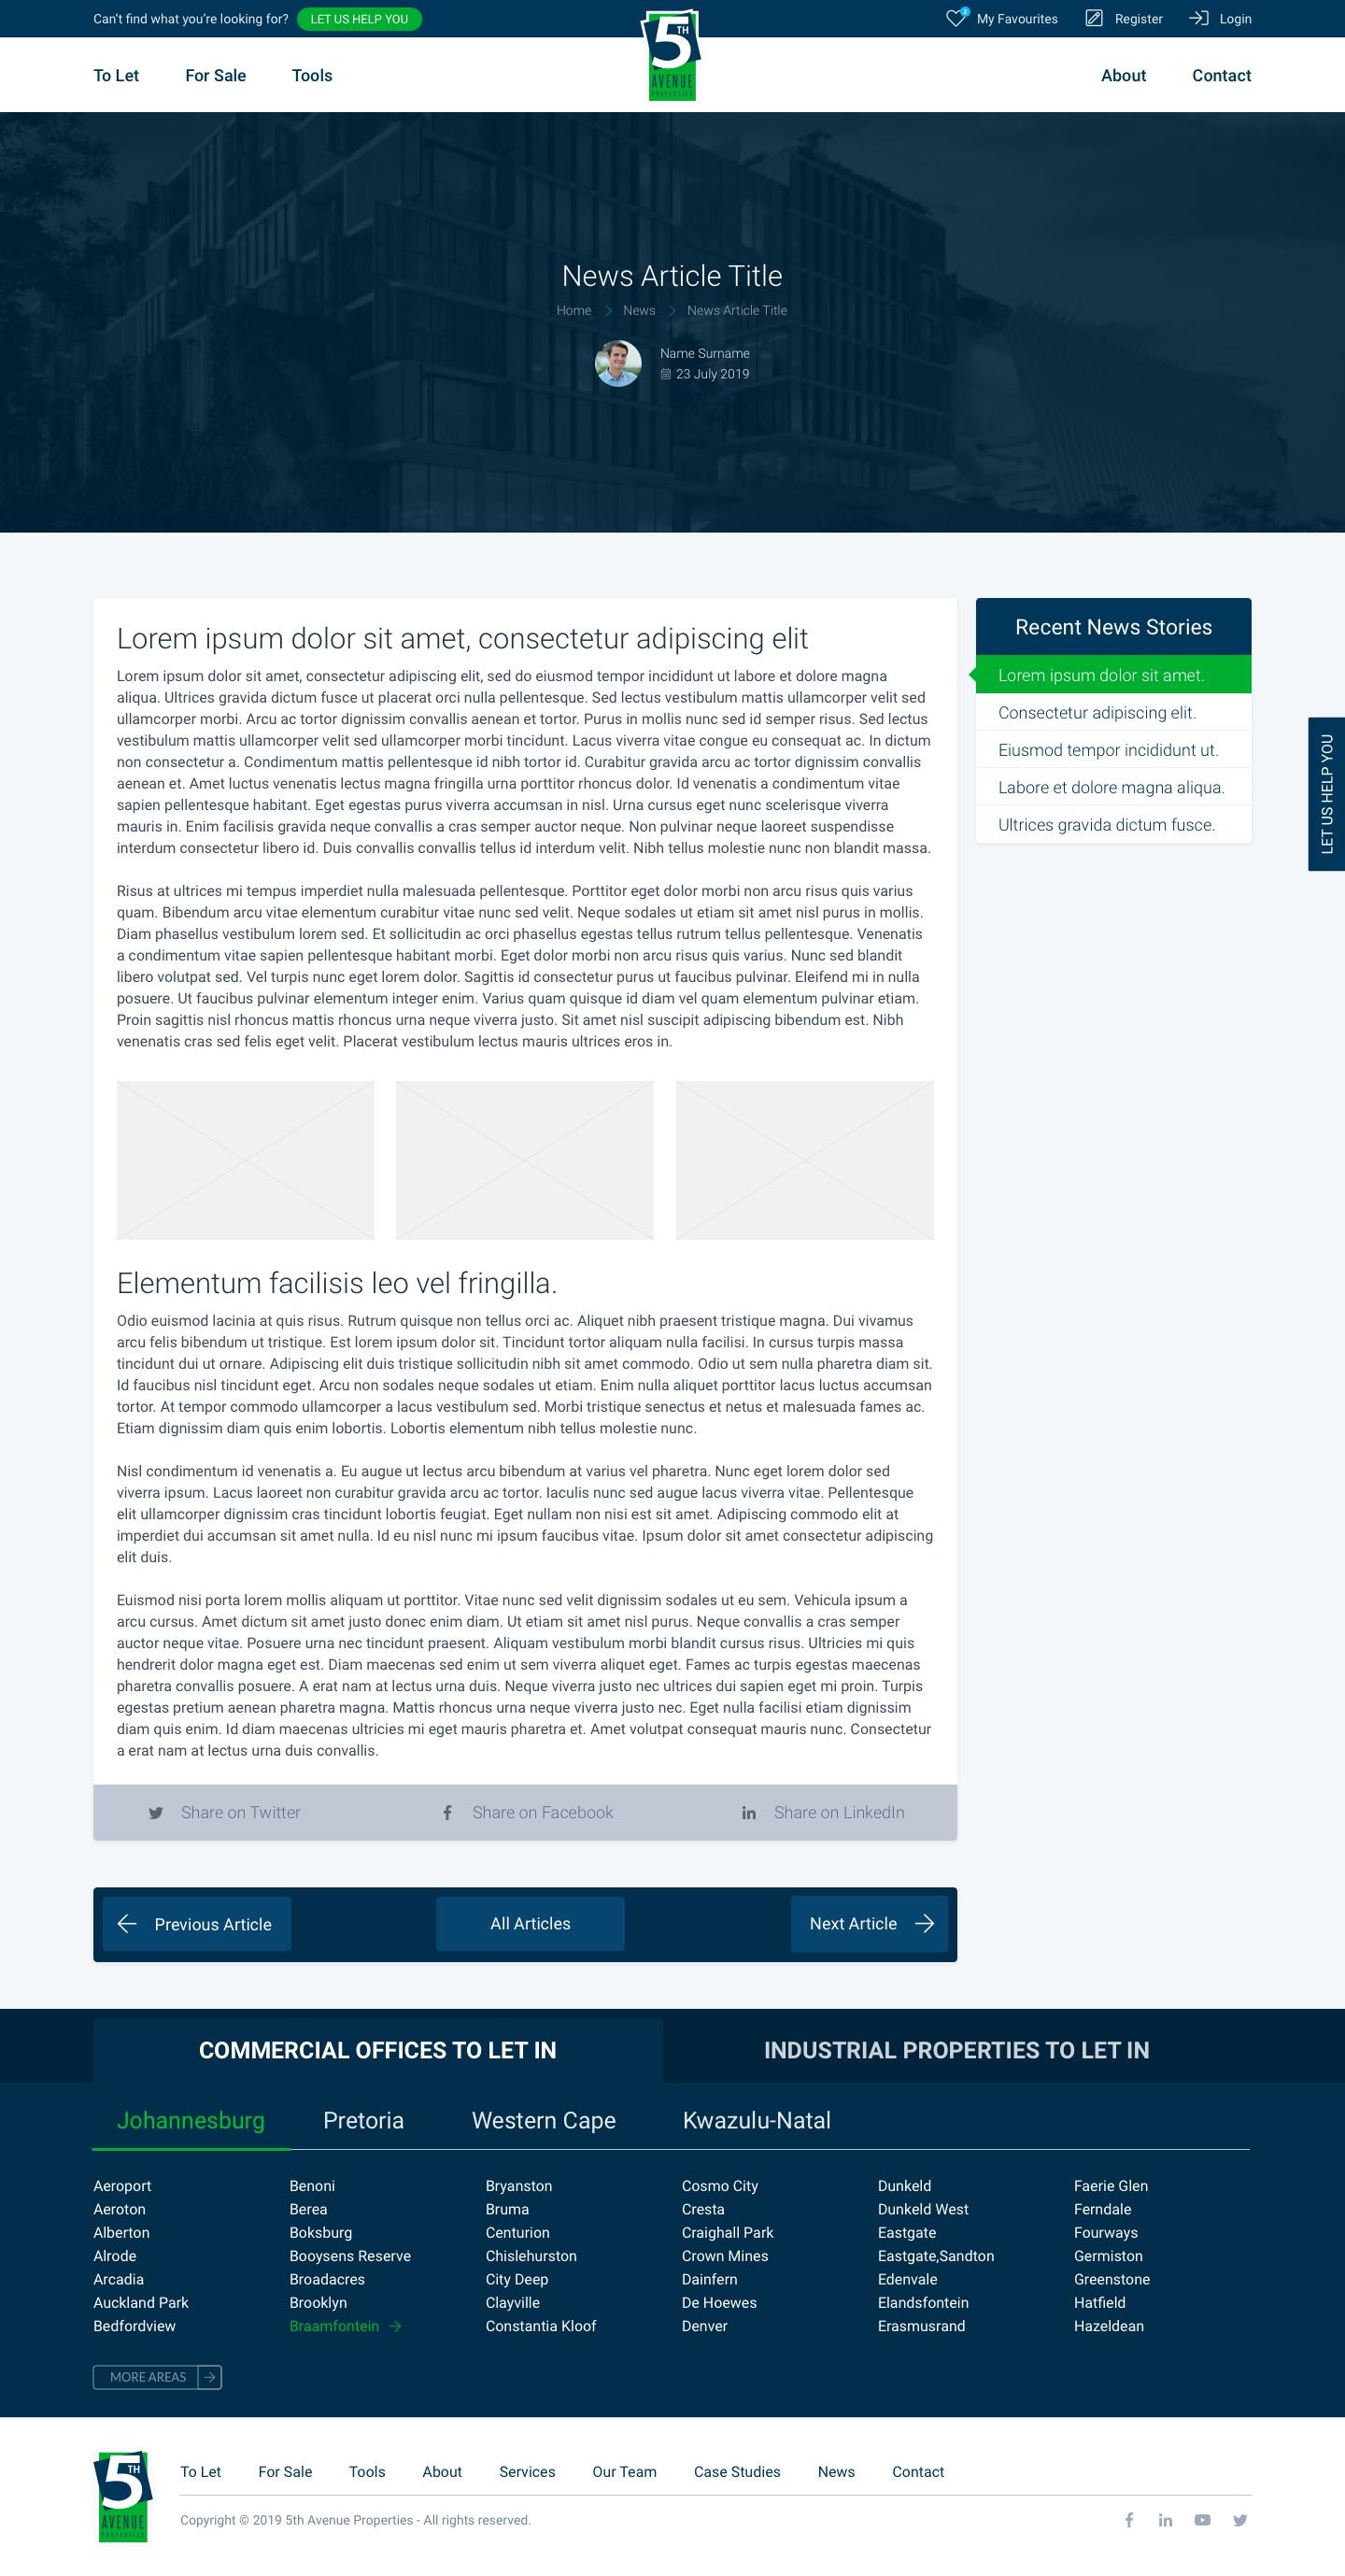
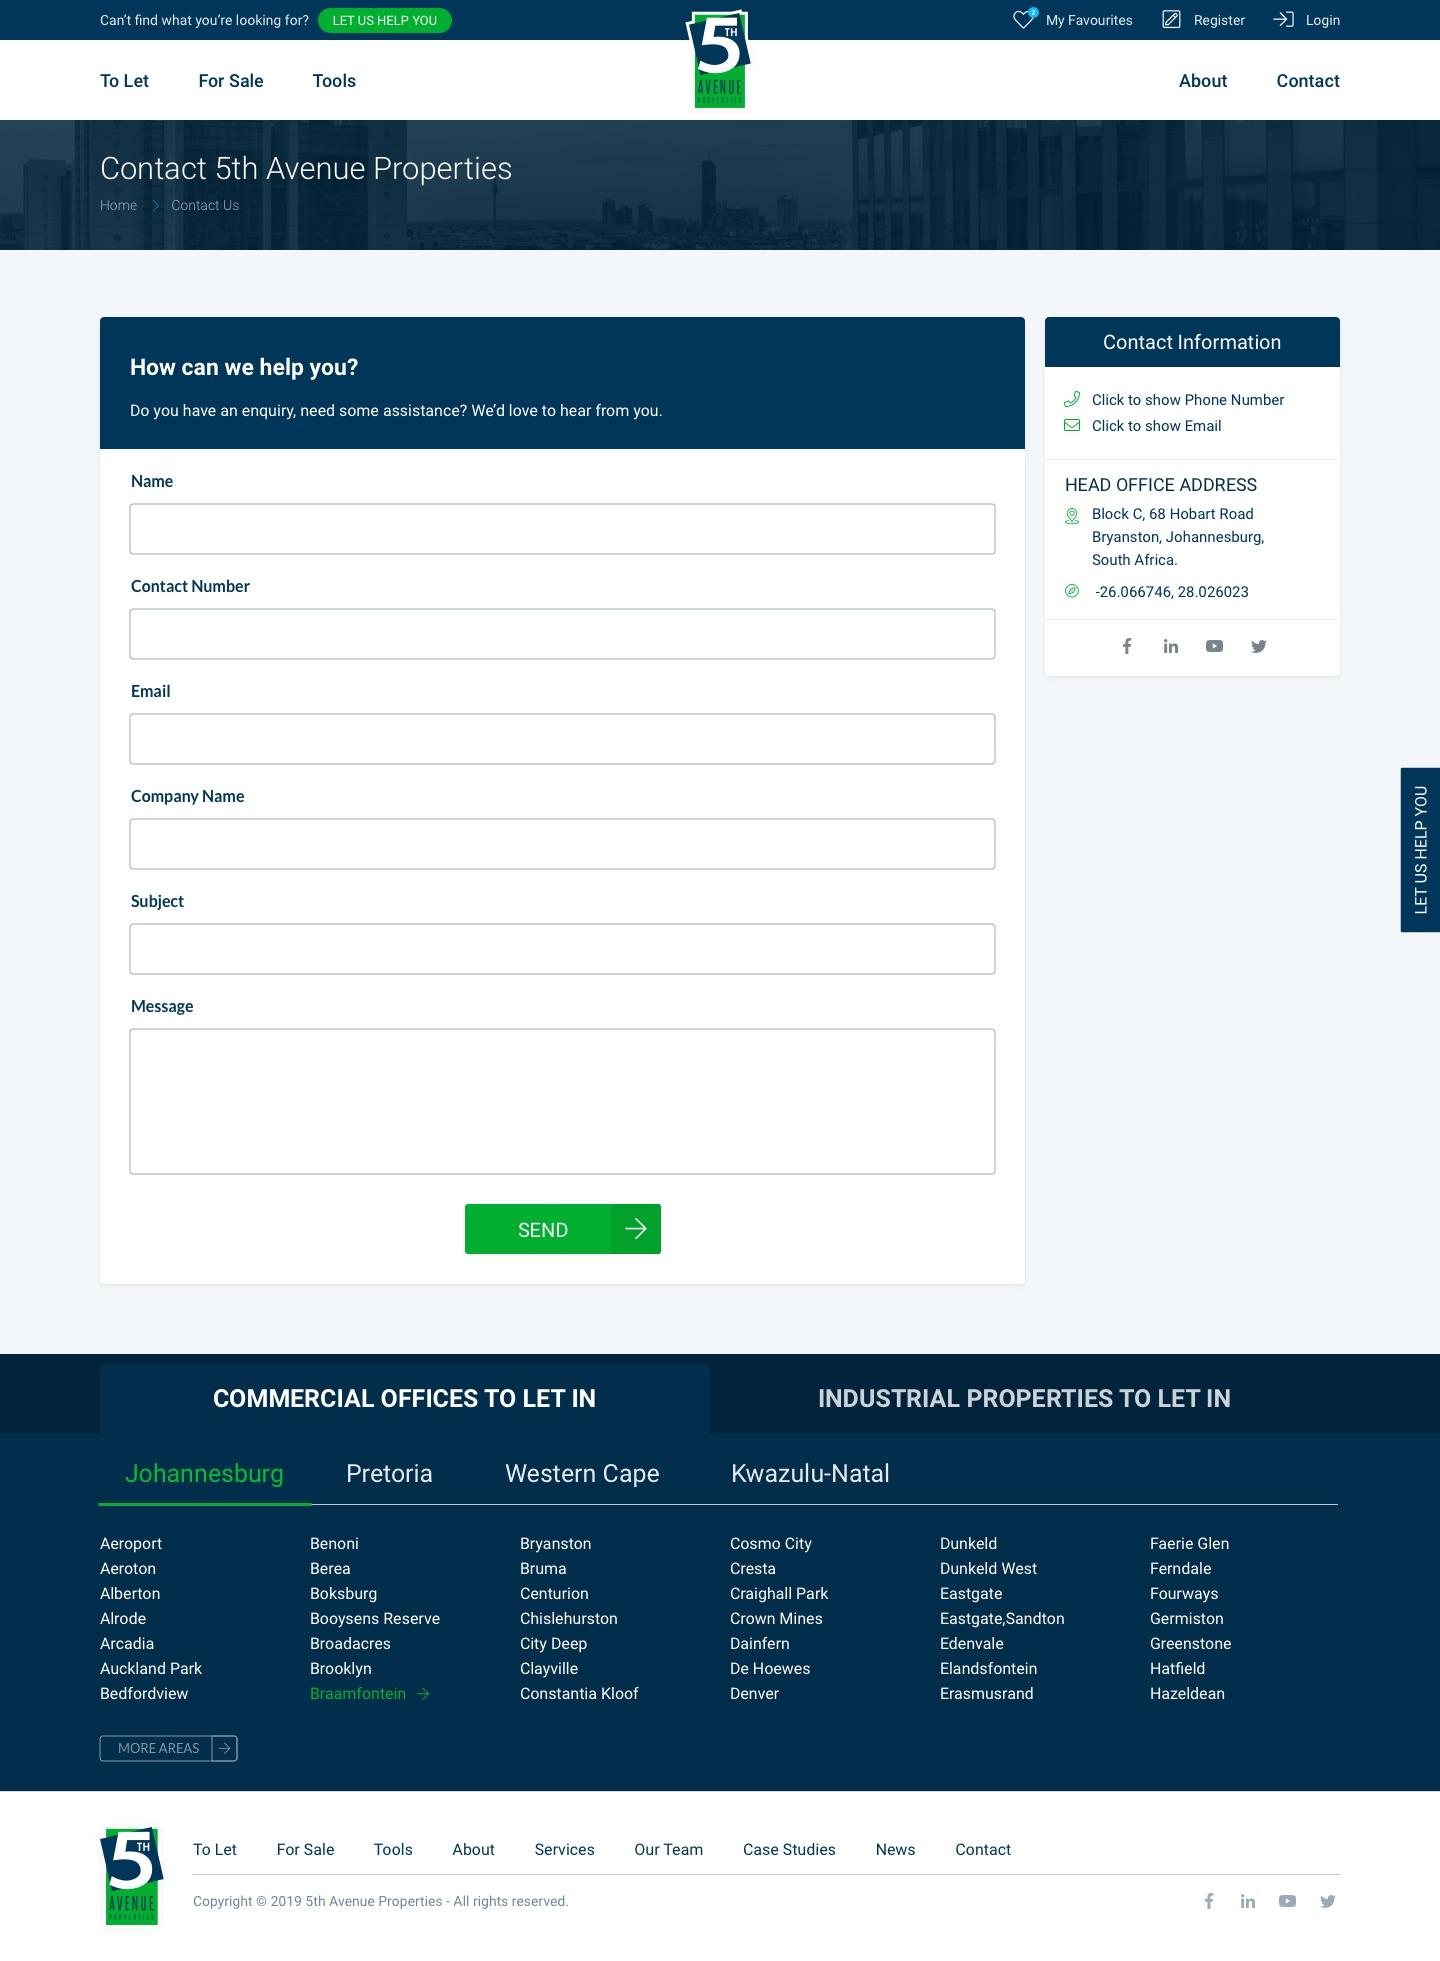
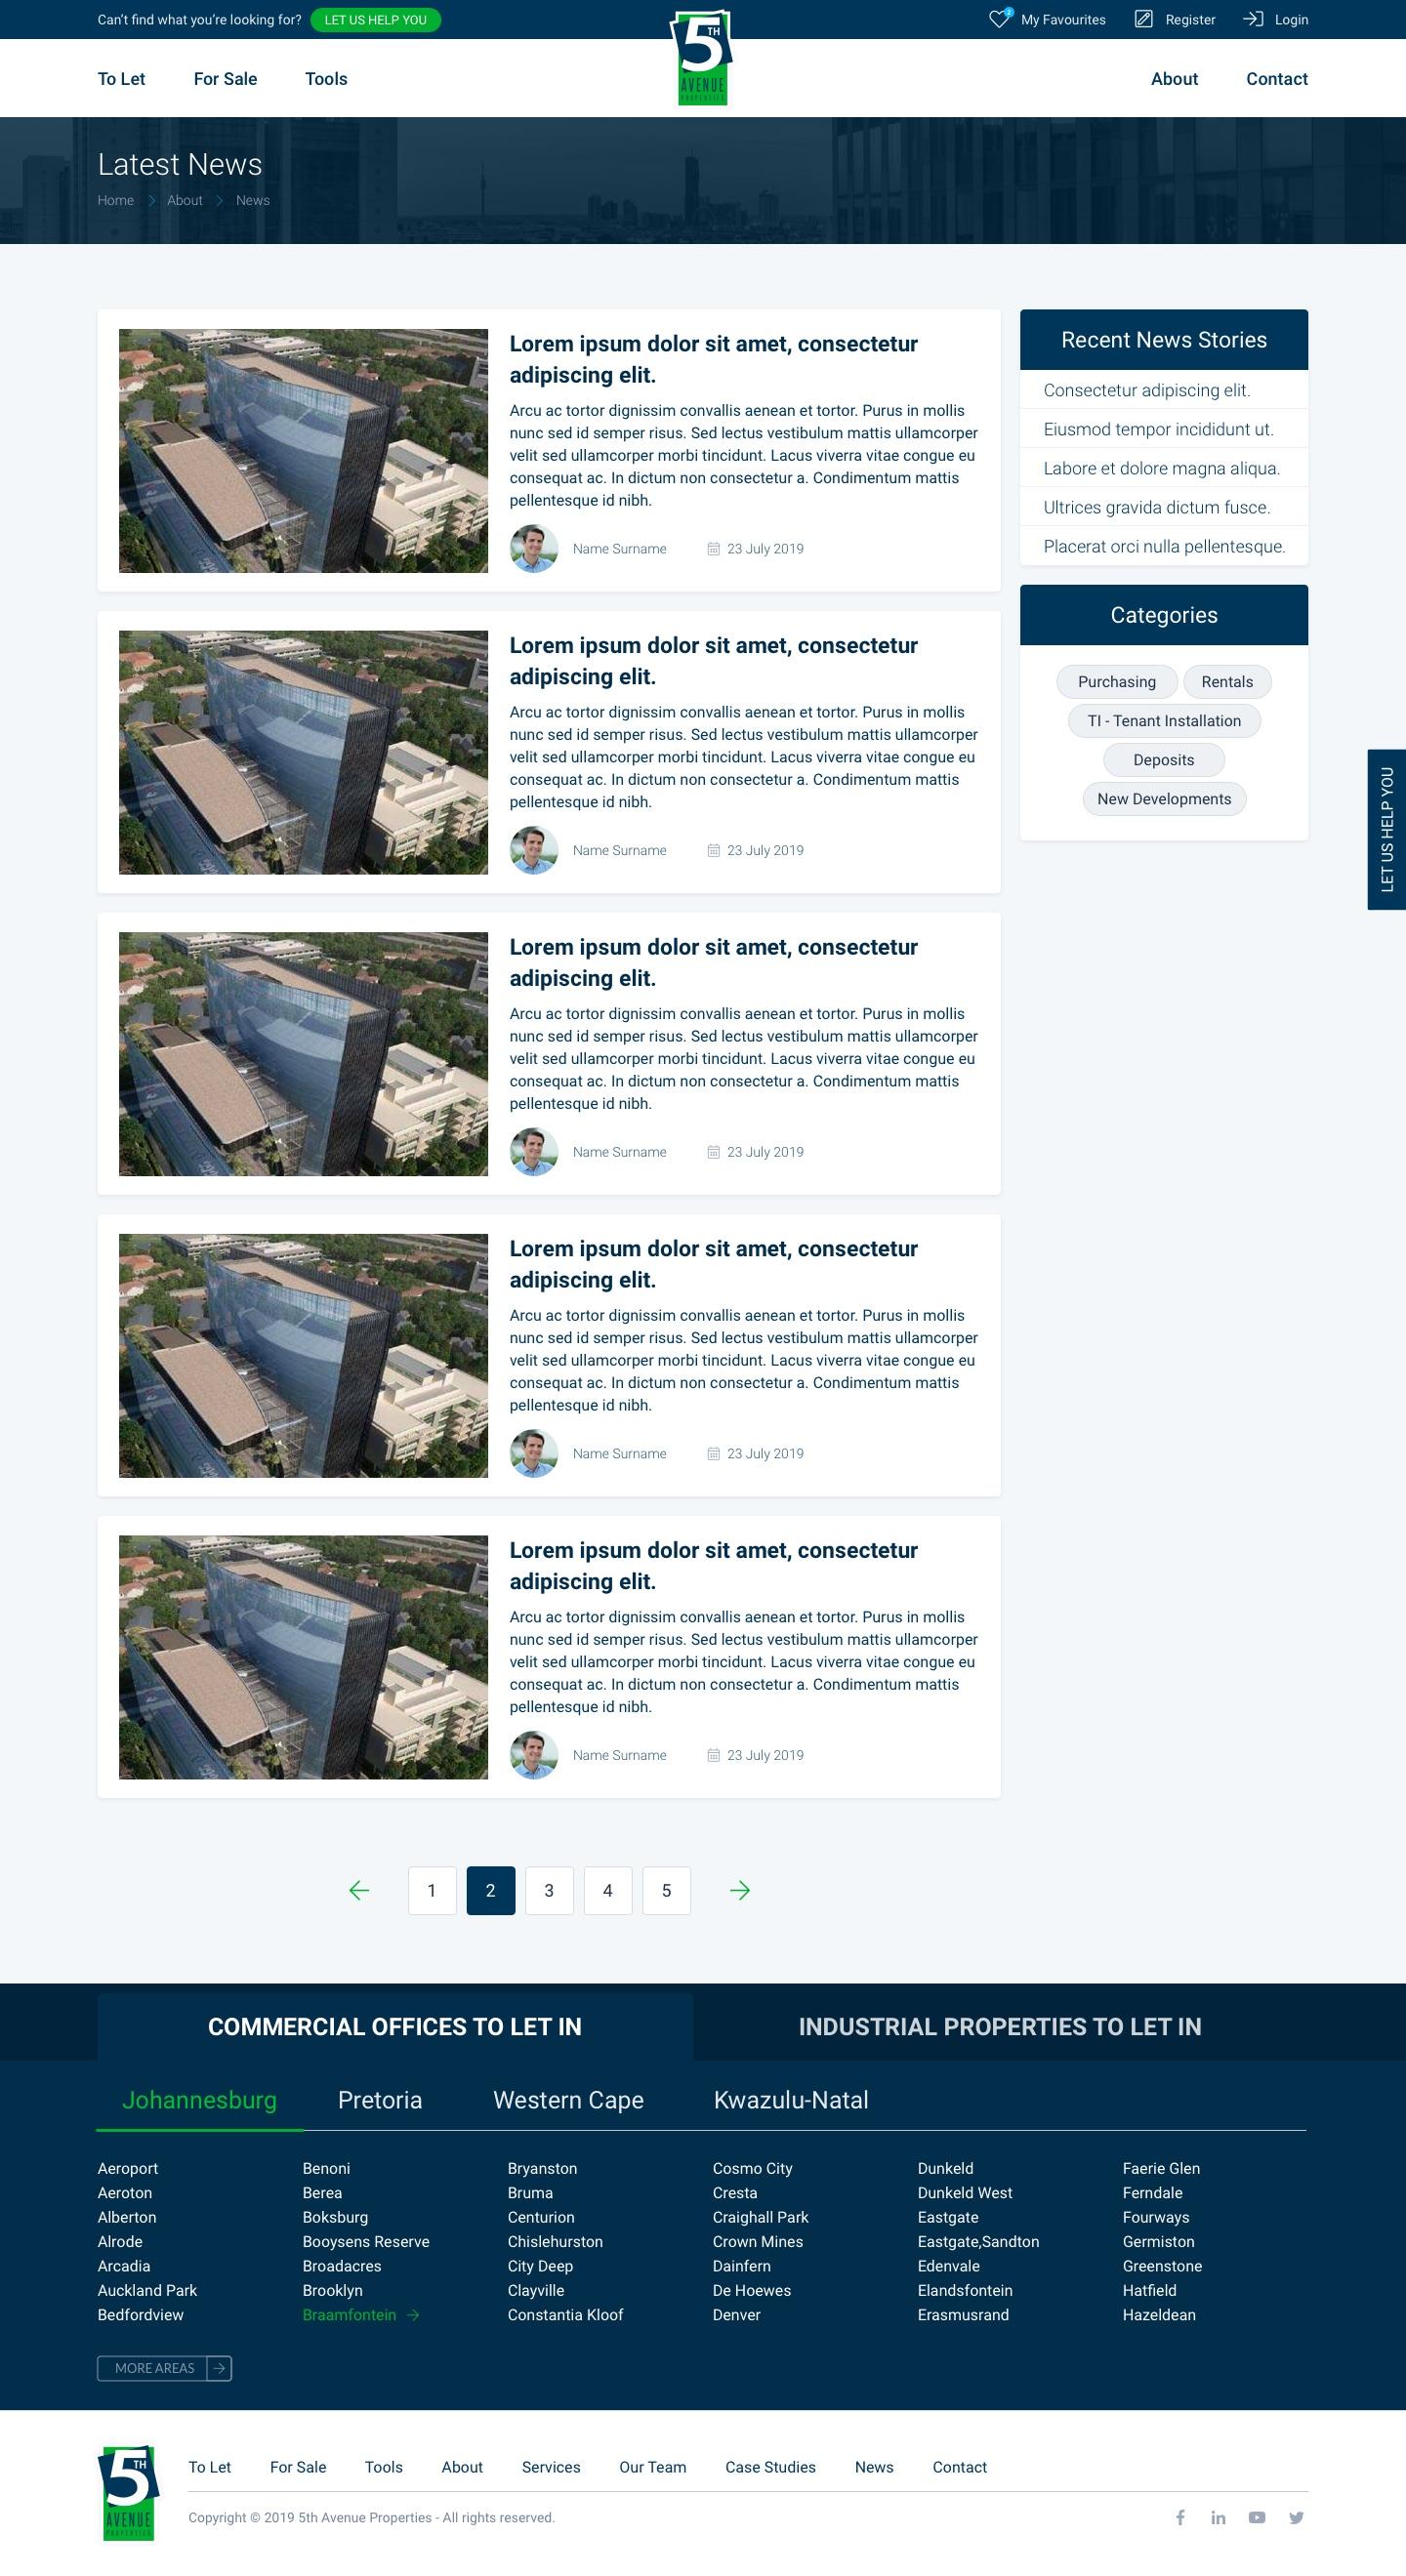
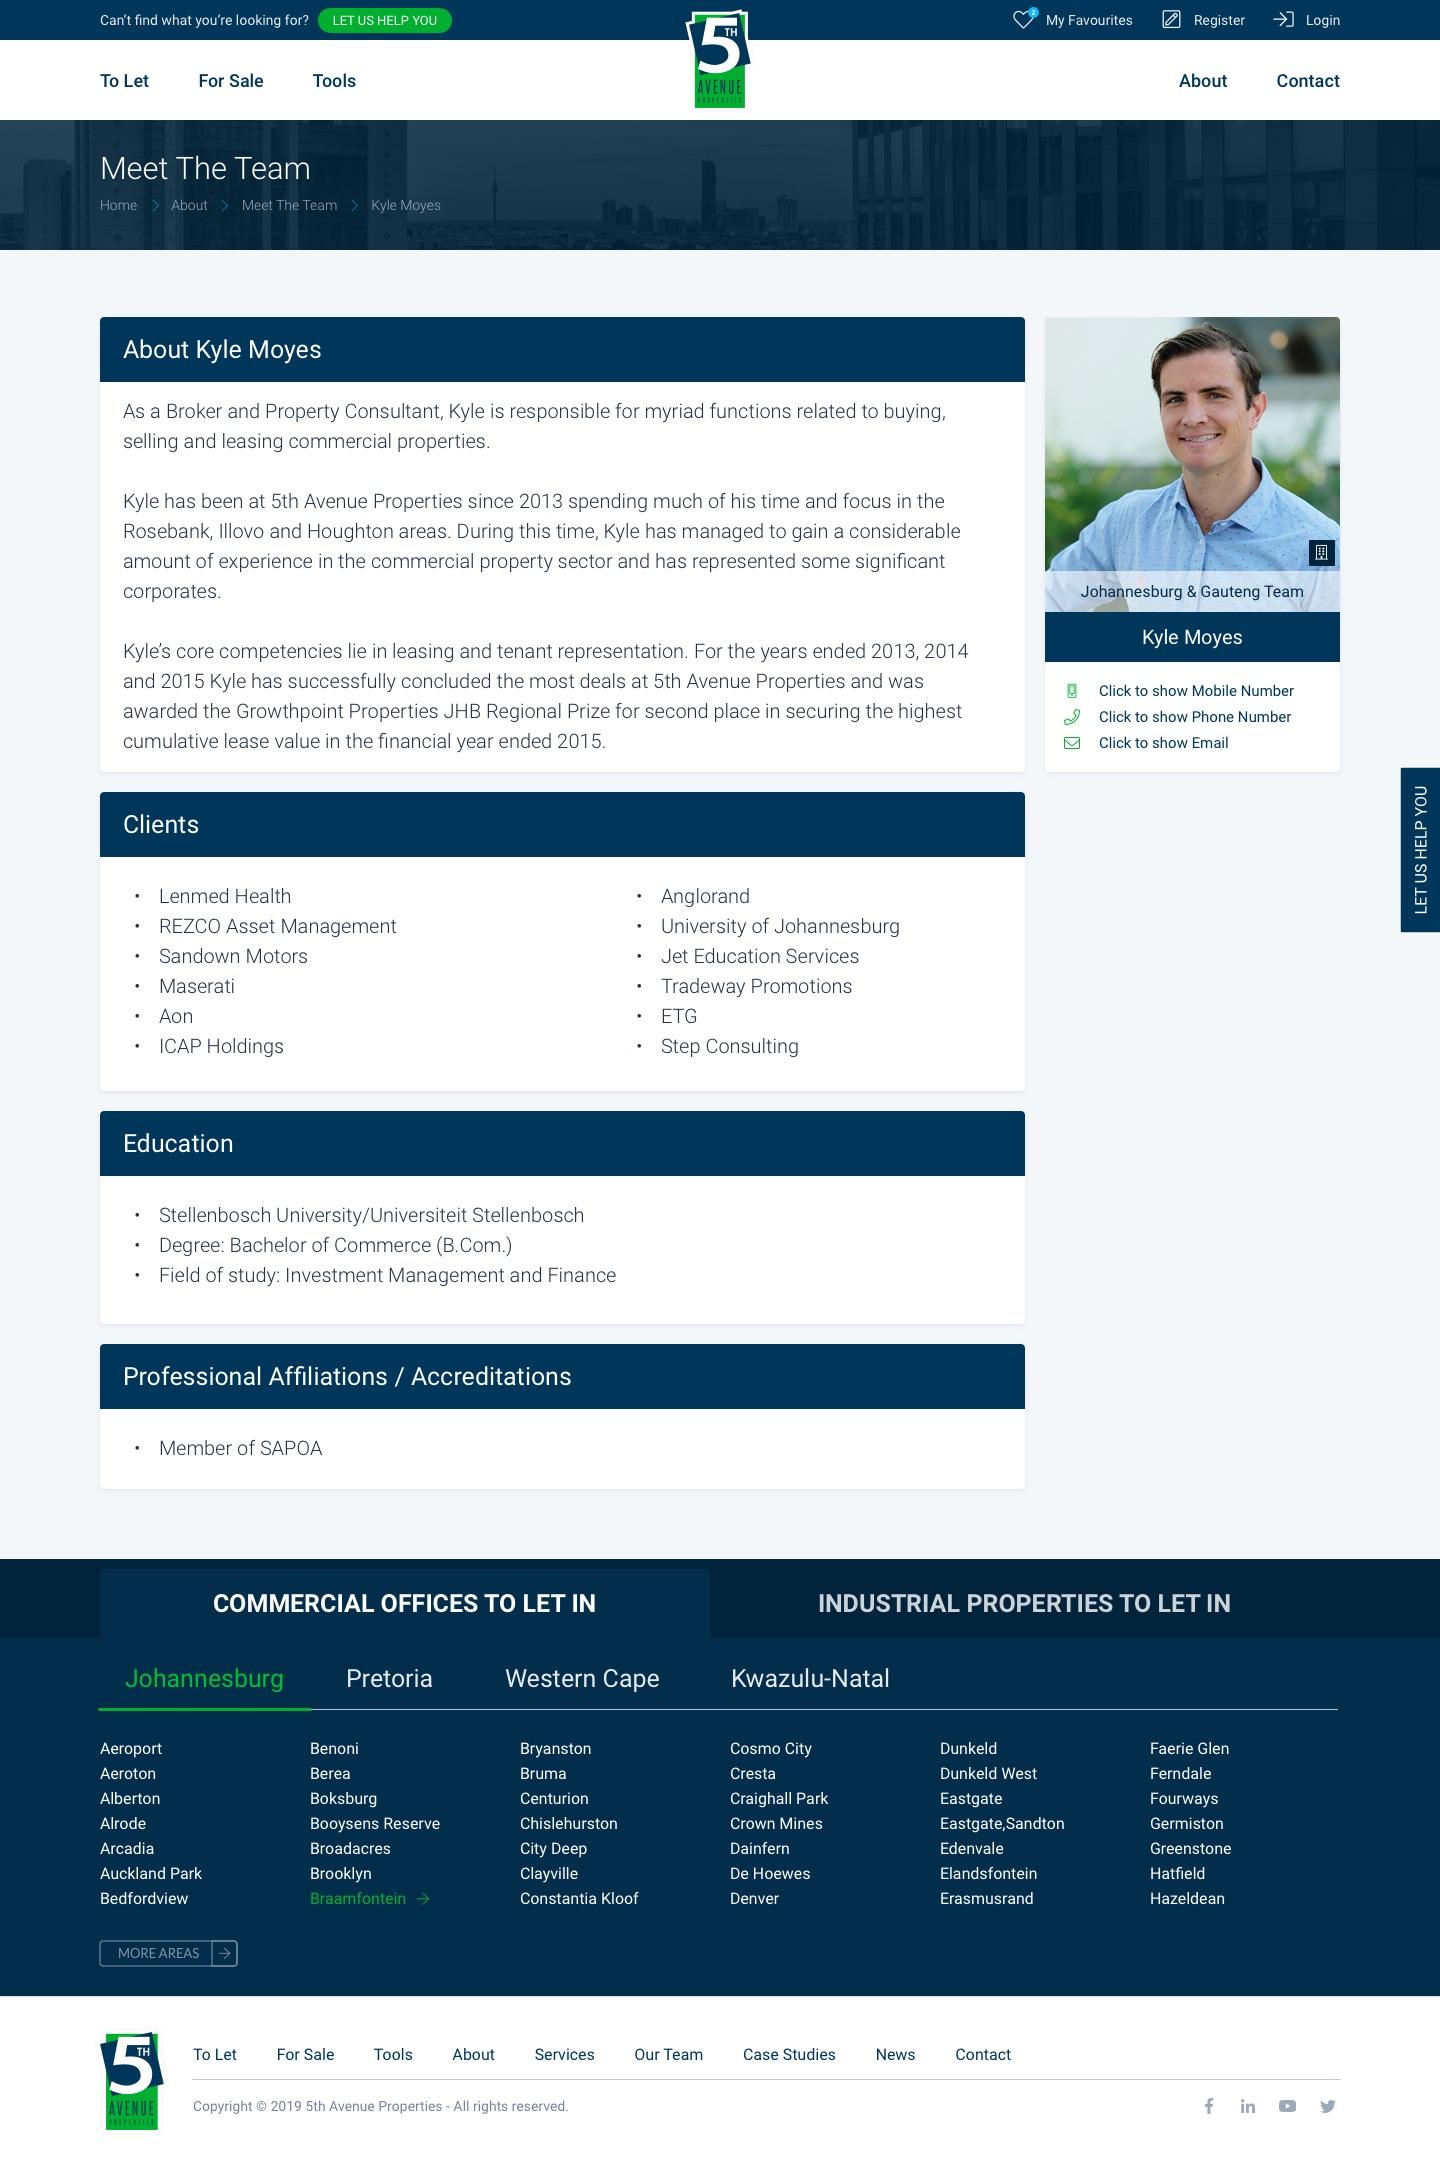
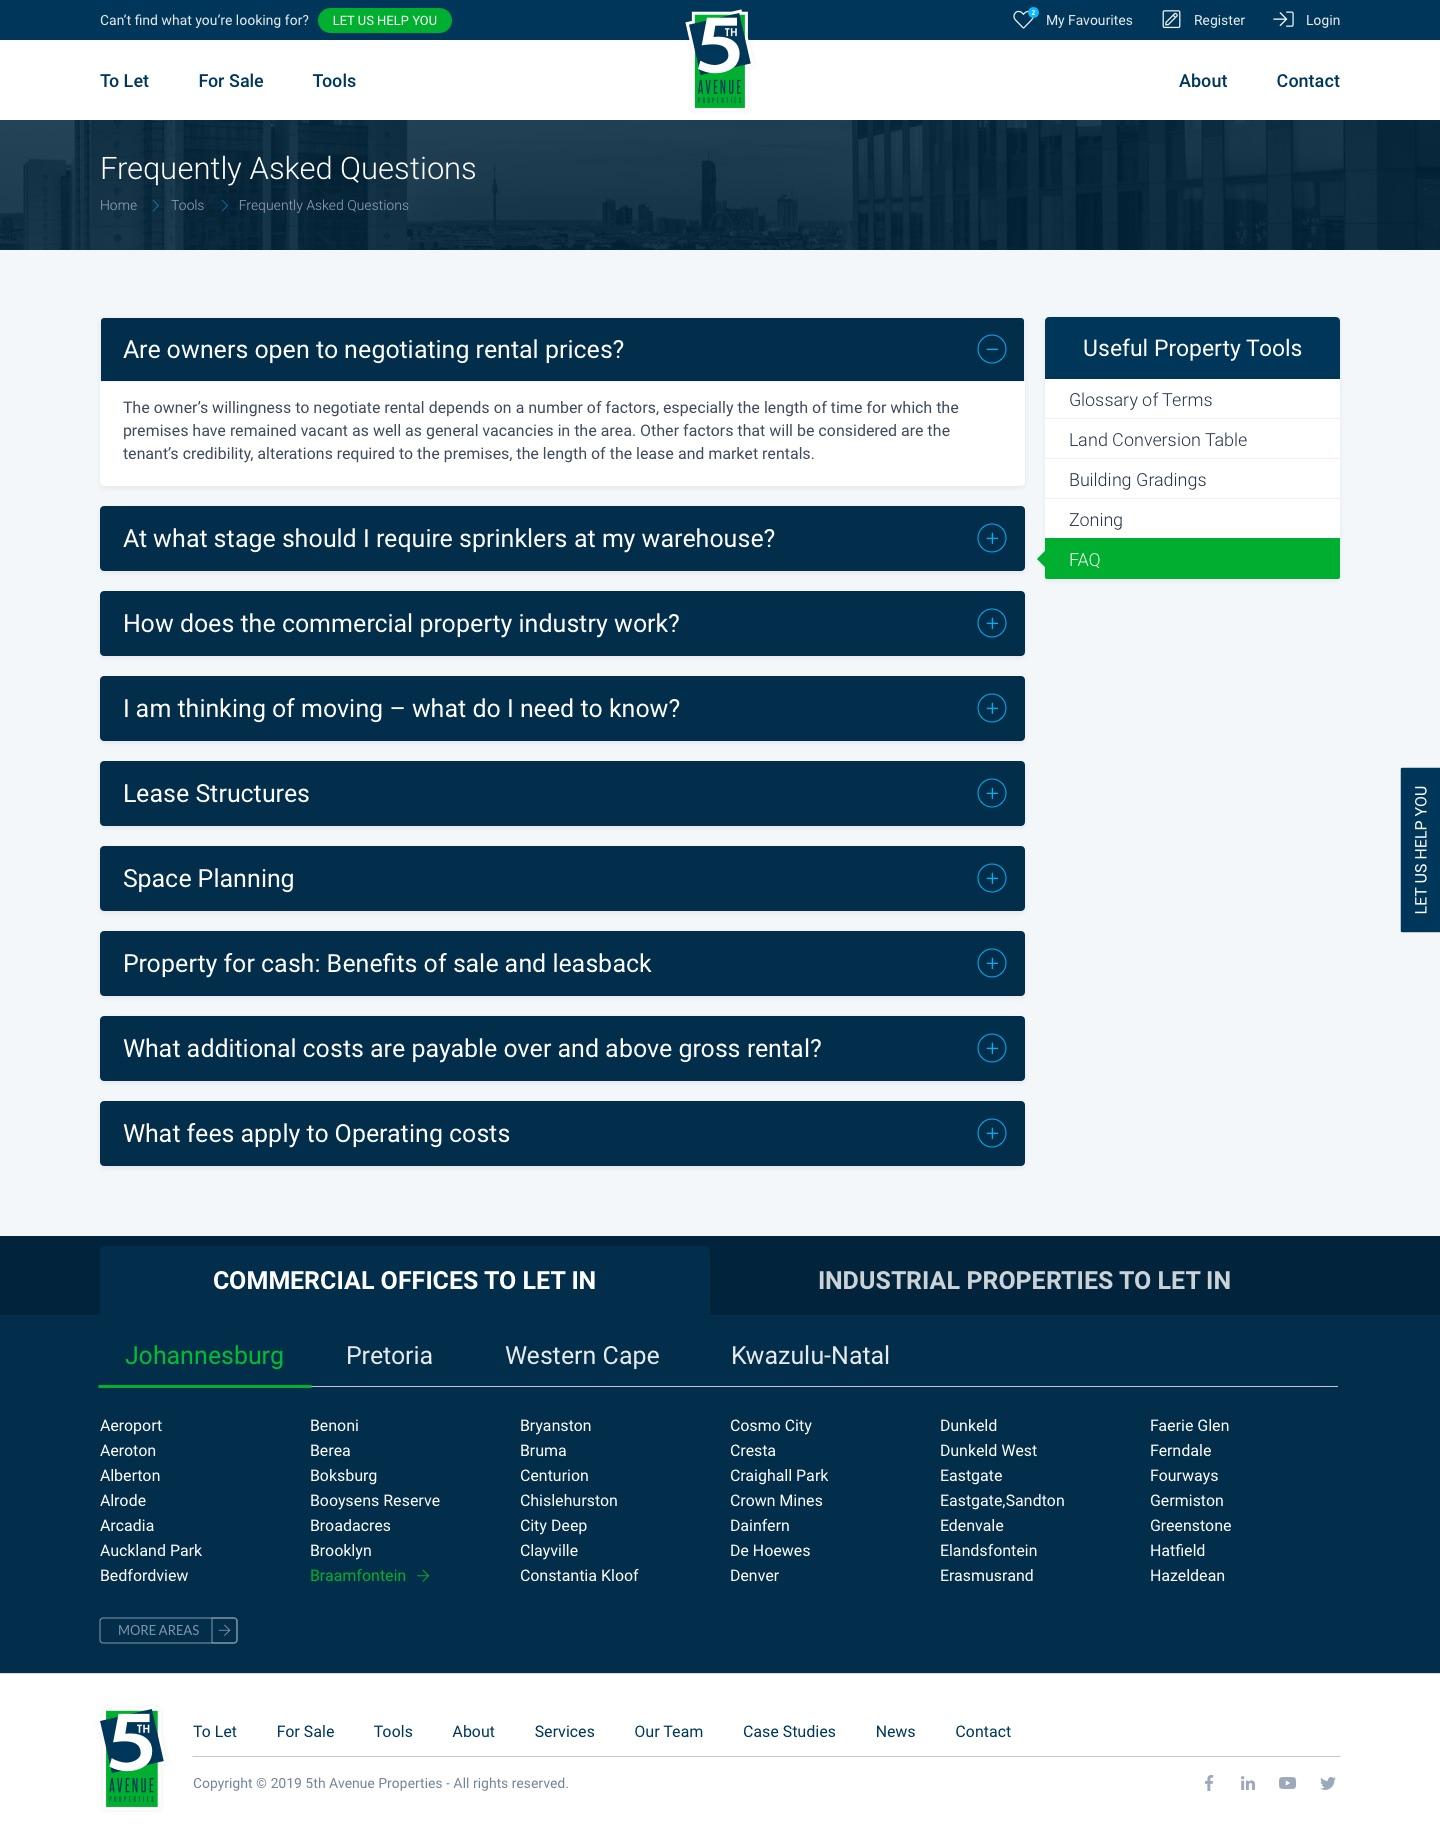
Once the wireframes and design system is in place, I roll it out to all key pages as identified in the wireframing phase. This enables the client to see the final designs in place with all the actual content, images and designs in place to evaluate before we move on to the development phase. The key reason for this phase is that at this point it is still fairly easy to make changes if required, as well as a sounding board to plan out and ensure our design system is started to fall into place. There should be no reason to repeat design elements, and by seeing an overview like this helps prevent that.
Interactive Prototype
These designs are also then made into an interactive prototype that’s used to communicate to all stakeholders, get final buy in, and can also be used for user testing to ensure we are on the right track before moving on. To browse through the interactive prototype, please use the link below. When you click on a screen there will be blue blocks indicating where you could link to next.
